Hello. I’m Komugi!

I enjyoy making Ramen myself as a hobby in Japan. I’m Japanese!
When I make noodles for my Ramen, I use ATLAS 150 of MARCATO, a pasta machine.
One of the good points of this machine is that you can adjust thickness of noodles with turning the dial. You can make low-hydration noodles with this machine, if you work carefully.
My pasta machine has 2 cutters. One is 2 mm, and the other is 3.5 mm. In additions to them, I bought several optional attachments, and make verious kinds of noodles.
In ths article, I will introduce how to make basic noodles for Ramen using ATLAS 150.
Ingredients
・Flour (Strong Flour) 300g *1
・Kansui 3g *2
・Water 120cc *3
・Salt 3g *4
・corn starch as needed
(Hydration40%)
*1 Flour
In Japan, we call noodles for Ramen “Chinese noodles”, and strong flour is used to make Chinese noodles. On the other hand, as you know, weak flour is used to bake cakes and cookies. Strong flour and weak flour are different in protein content. High protein noodles are high gulten noodles, so that they are strong and chewy, while low protein noodles are soft and smooth.
Which brand of flour you use directly influences taste and flavour of your noodles. If you want to make tasty noodles, I recommend you use good flour. How to classify flour seems different from country to country. In case you don’t know which flour is suitable for your noodles, you can choose flour for bread. Then you will be abel to make nice noodles with aroma of wheat.
*2 Kansui
Kansui is one of important ingredients to make dough of Chinese noodles. It is an alkaline agent, which reaction is similar to baking soda. I add it to water and make a solution before mixing with flour. By adding Kansui to the dough, you can make typical yellow chewy Chinese noodles with wheat aroma. I always buy powederd Kansui. I use it at the rate of 1 or 2 wt% of flour. ( If you prefer to make your noodles clear yellow, please add 2%. If you want to keep wheat aroma, please add only 1%.)
In case Kansui is not available in your country, you can use baking soda as a substitute. However I personally recommend you use Kansui to make authentic Chinese noodles.
*3 Salt
Salt is often used to make noodles. It makes dough elastic and powers its taste. In case you make handmade noodles with adding extra water, it might be a good idea to use more salt than usual to keep noodles chewy. When you use a pasta machine, you have to add neither extra water nor extra salut. I always use salut at the rate of 1% of flour.
*4 Hydration
Hydration is ratio of water to flour by weight. For a beginner, it might be easier to adopt around 40% hydration recipe.
Typical noodles for pork bone (“Tonkotsu”) Ramen have very low hydration such as around 30% to realize their distinctive crunchiness and unique bite. Low hydration also helps preserve wheat aroma. If you prefer to make your noodles smooth, soft and elastic, you can have more than 40% hydration for them. You can adjust hydration yourself based on your ideal noodles considering thier texture and their balance with your Ramen soup as well as handling ease.
| hydration rate | % | kind of noodles |
| low | 28~32 % | Hakata Ramen hard/distinctive crunchiness/unique bite |
| middle | 33~38% | Ramen/Chinese noodles standard |
| high | 39~46% | Tsukemen/dipping noodles smooth/soft/elastic/chewy |
Steps to Make Noodles
Let’s get started.
1. Measure Ingredients Accurately
Now, let’s start to make noodles. It is really important to measure ingredients accurately. It it out of question to measure by the eye.
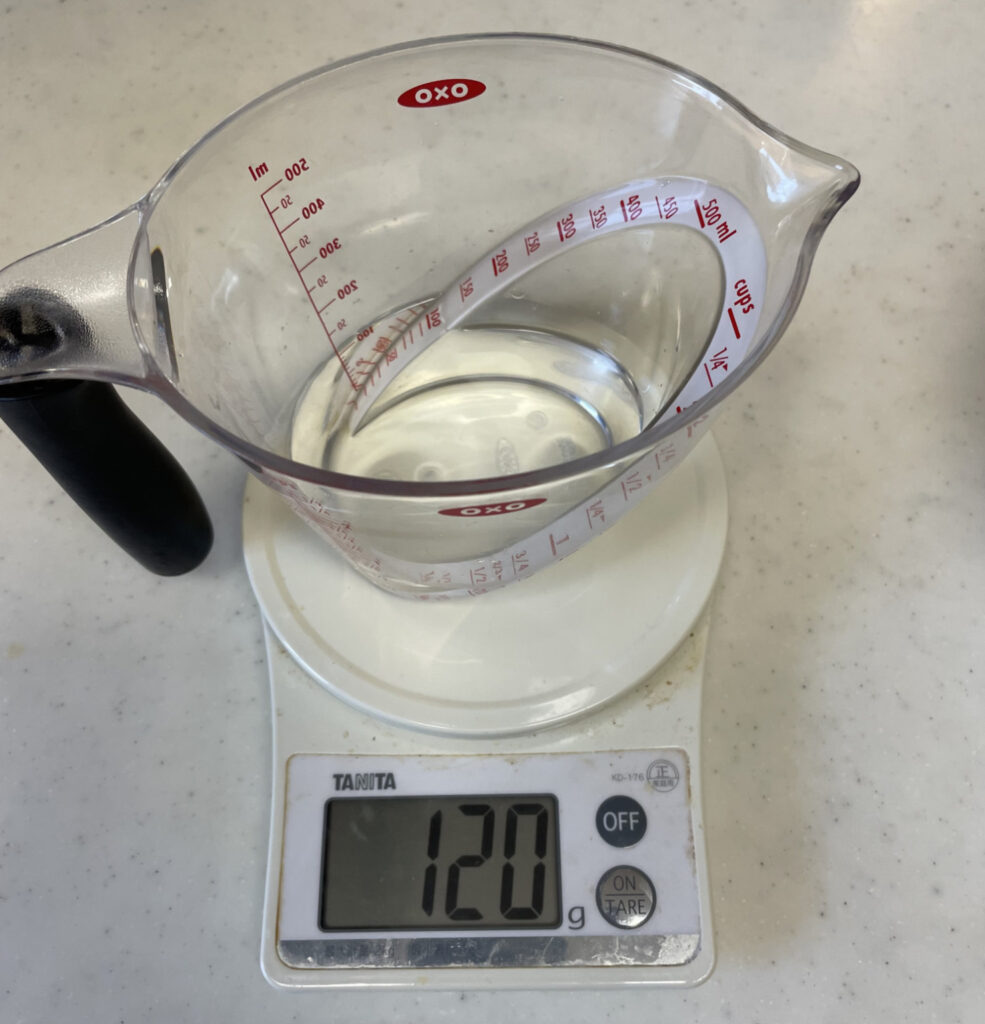
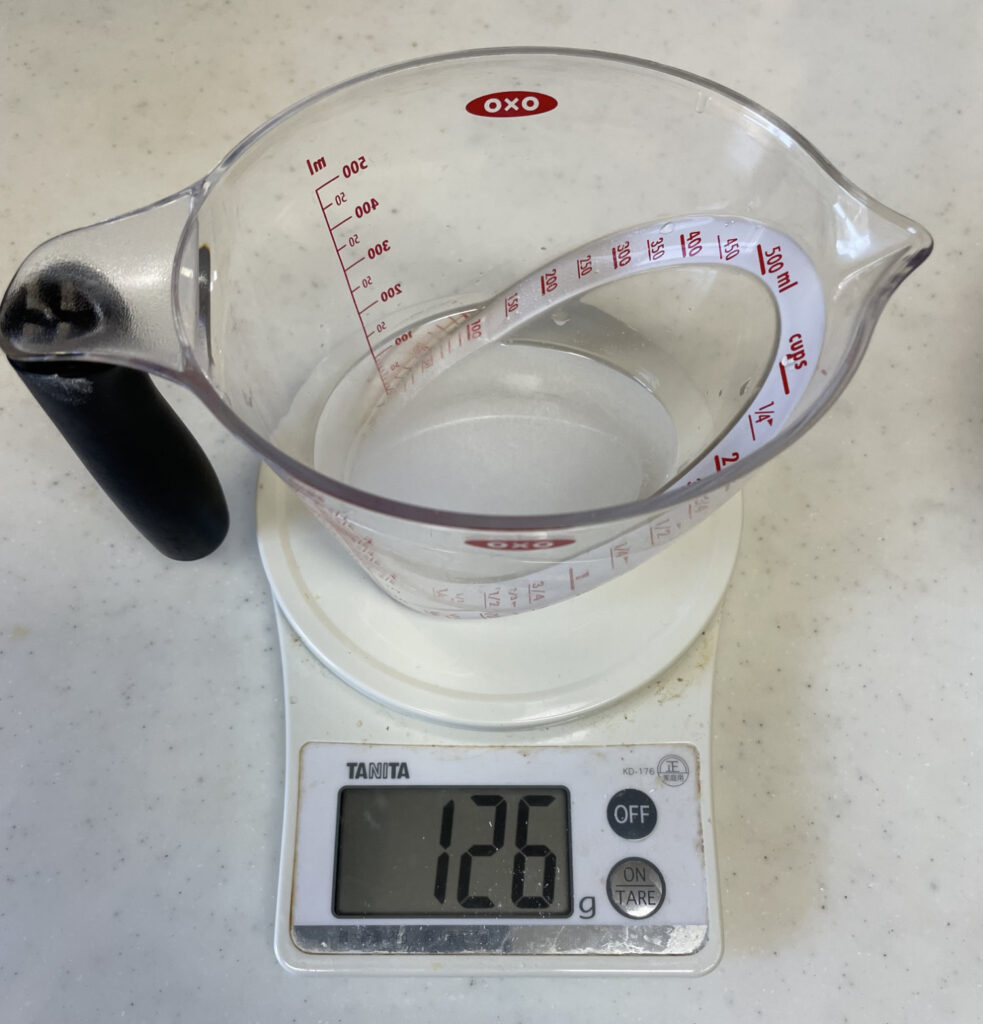
↑Measure water, Kansui and salt like the picture above. Add Kansui and salt to water, and mix them well. When I calculate the hydration level, I do not consider the weight of Kansui and salt. I simply divide the weight of the water by the weight of the flour.
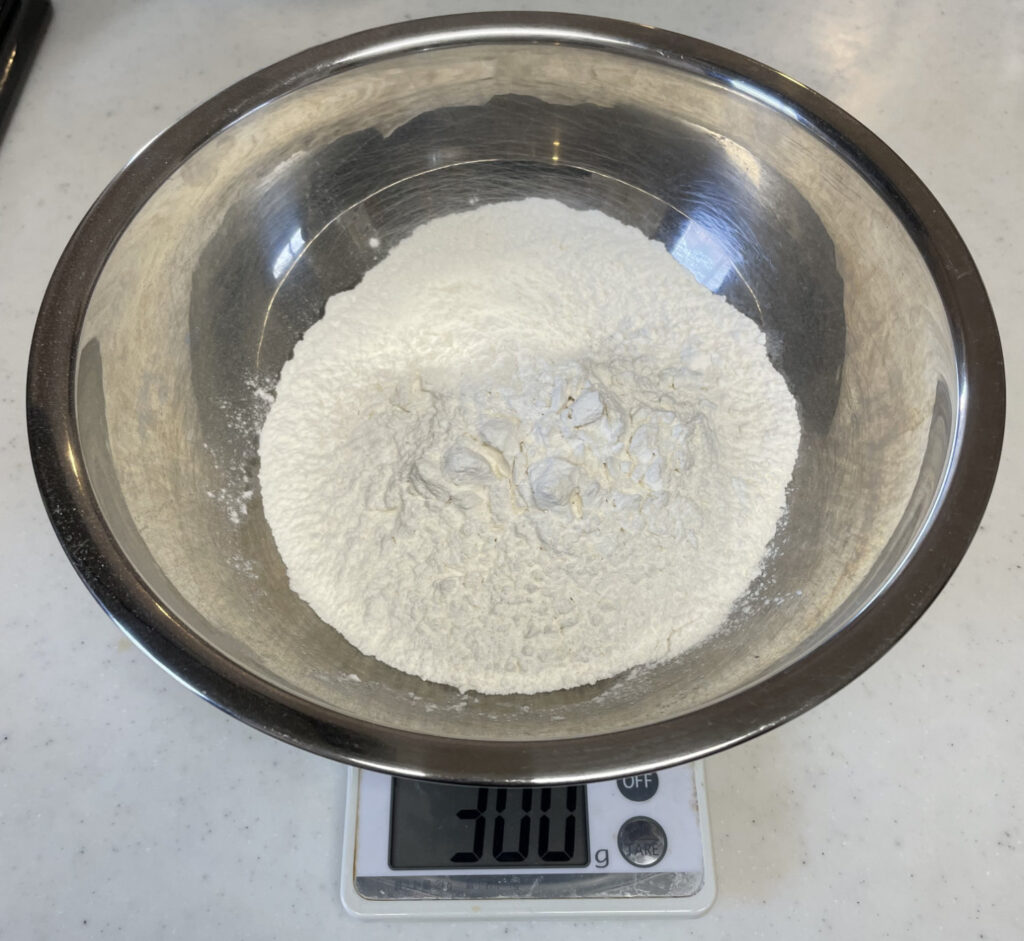
↑Measure flour accurately.
Even if the hydration is olny 1% lower, your noodles will be quite different. I hear that proffesional chefs adjust hydration level according to the season and weather. It is because the environment including temperature and humidity affects dough. In hot summer dough tends to become looser, so I reduce water a l little. In contrast, in cold winter, dough is likely to become harder, so I add extra water.
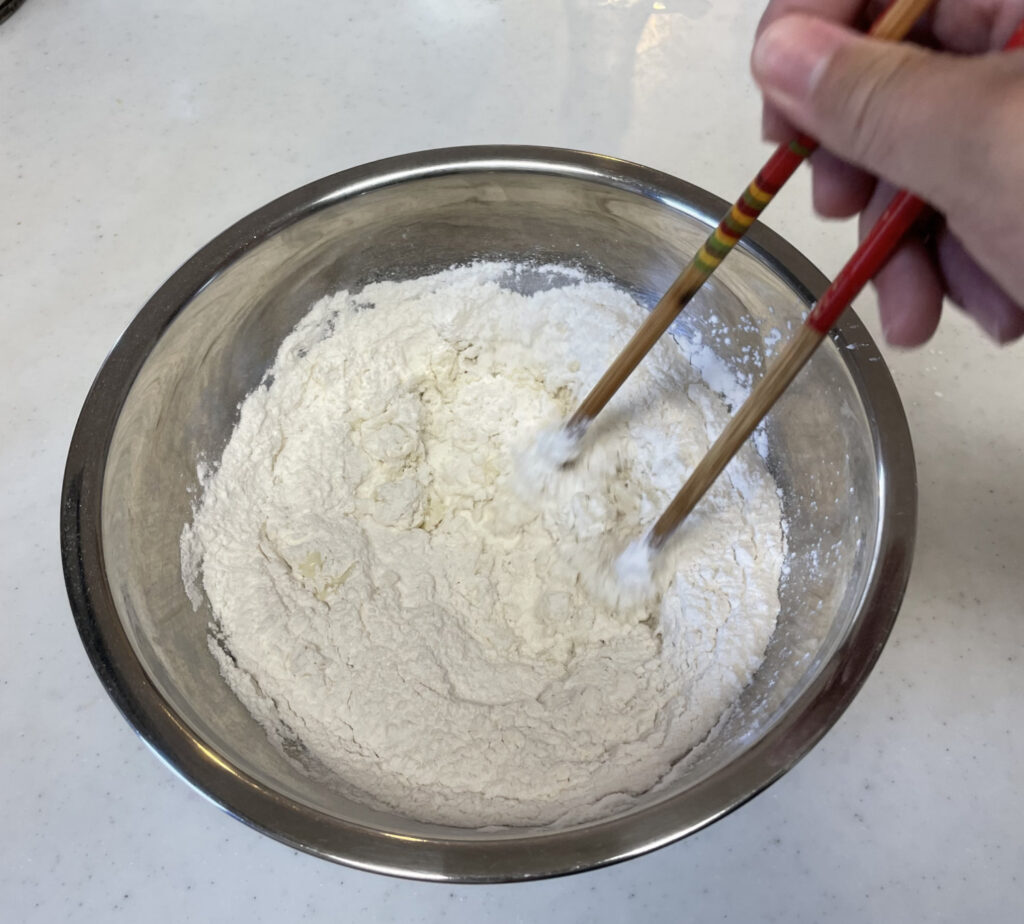
2. Pour Water Solution evenly into Flour in a Soft Circular Motion.
Pour solution of water, Kansui and salt little by little into flour in a soft circular motion, and help gently water permeate flour with your hands. You don’t have to completely mix and consolidate them at this point. See the picture below. The goal of this step is to make every grain of wheat flour even hydration, so please do not squeeze the dough here.
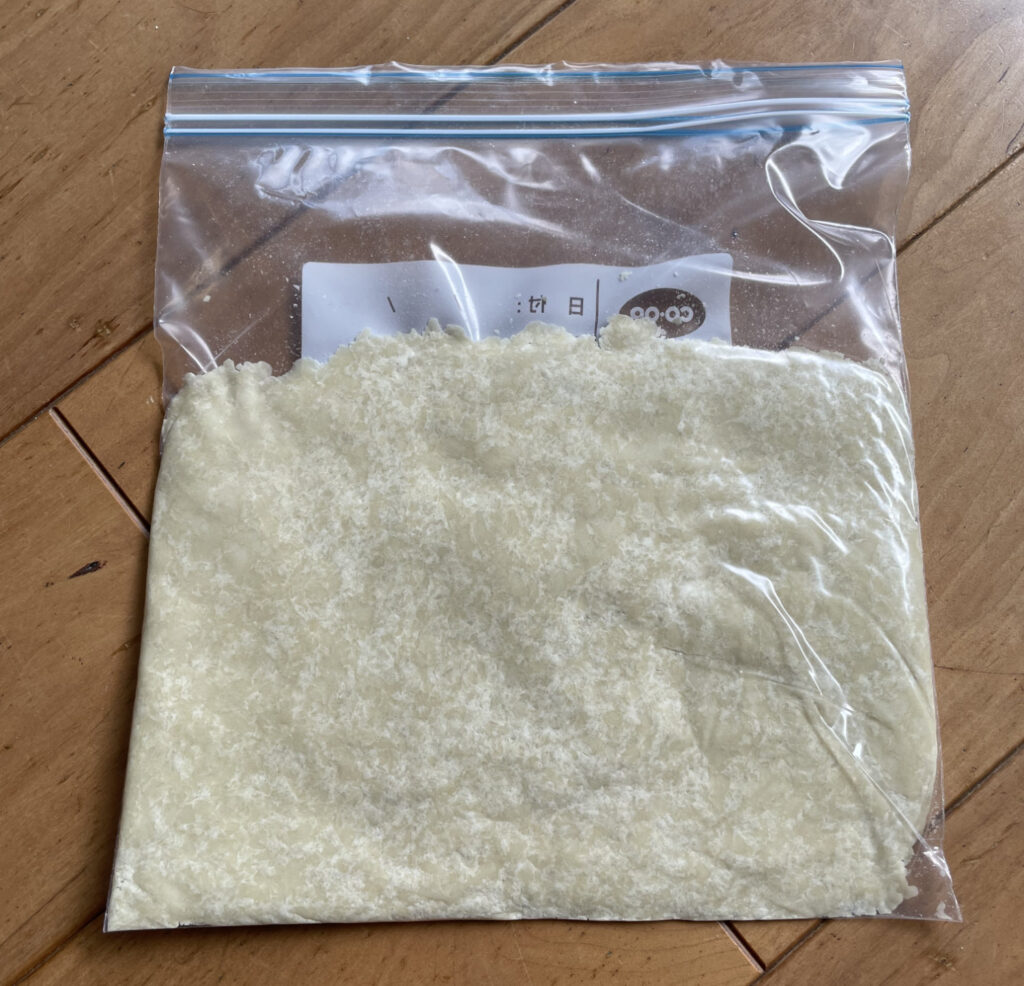
Just scoope up flour from the bottom to distribute water evenly to it. Do not forget to put back the dough sticking to your hands or the edge of the bowl. If it looks like bread crumbs, it means you are doing very well.
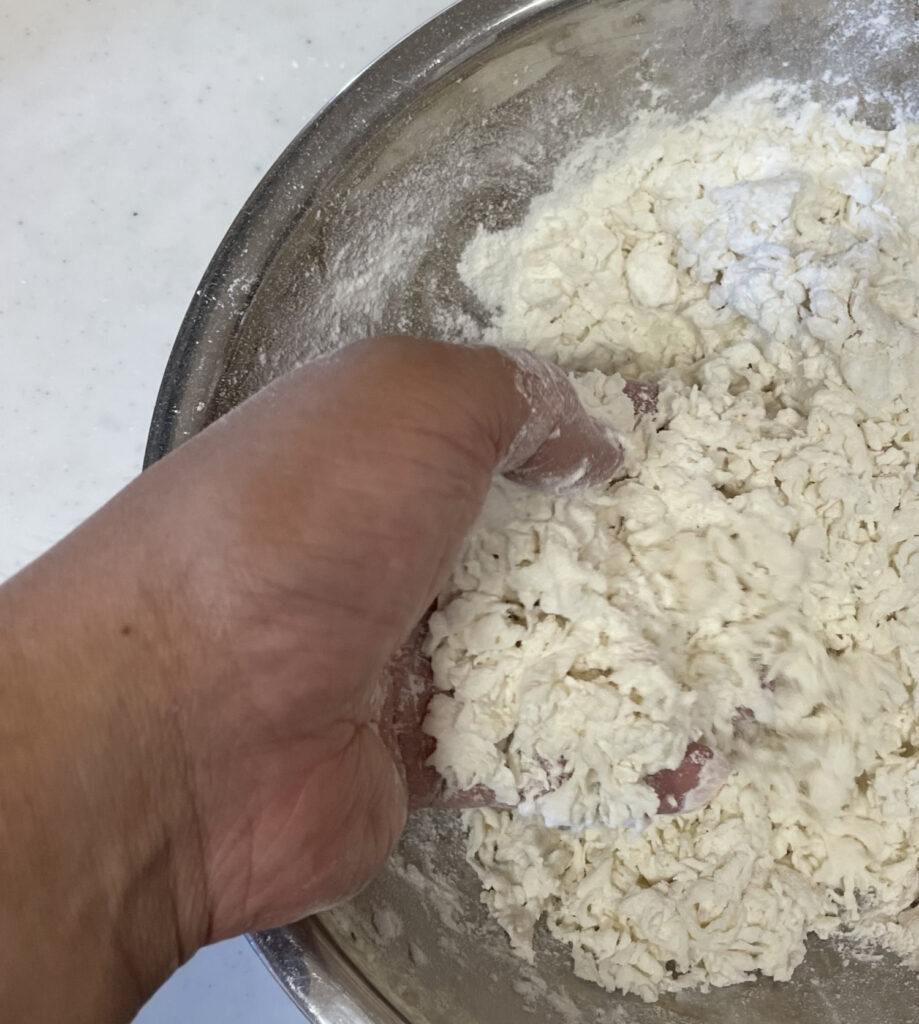
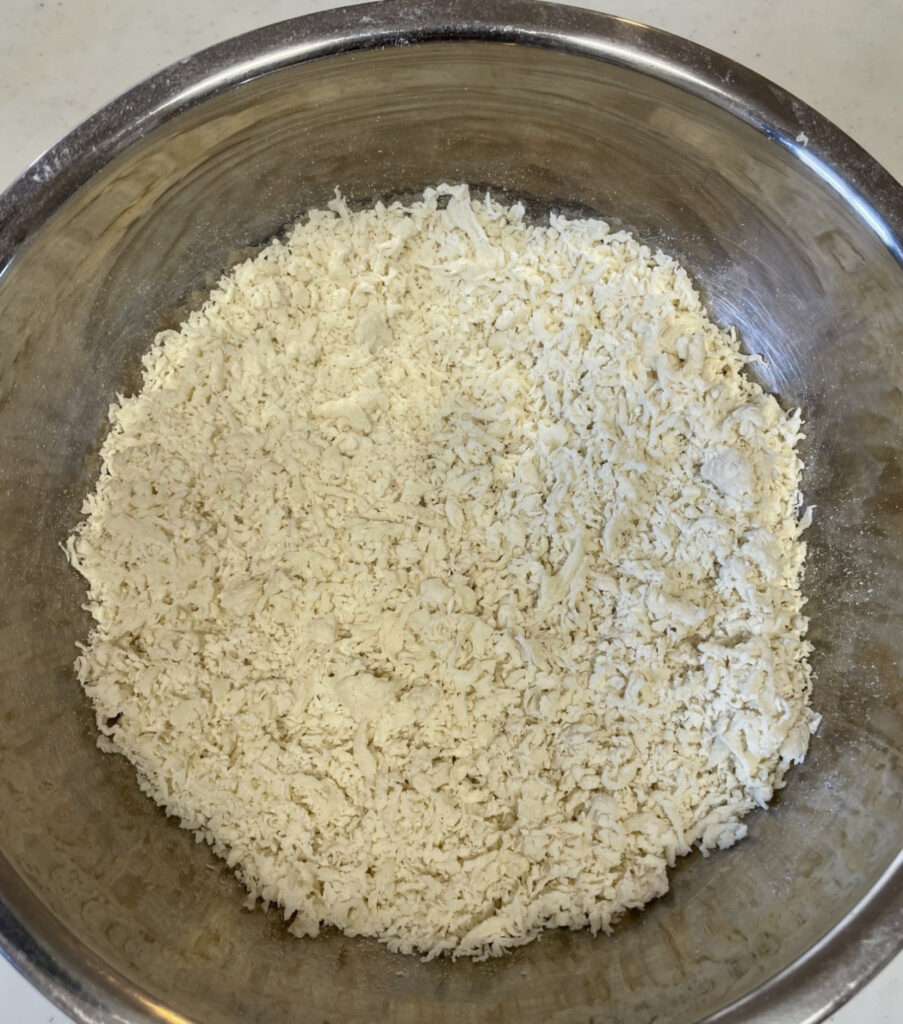
↑It finally becomes like this.
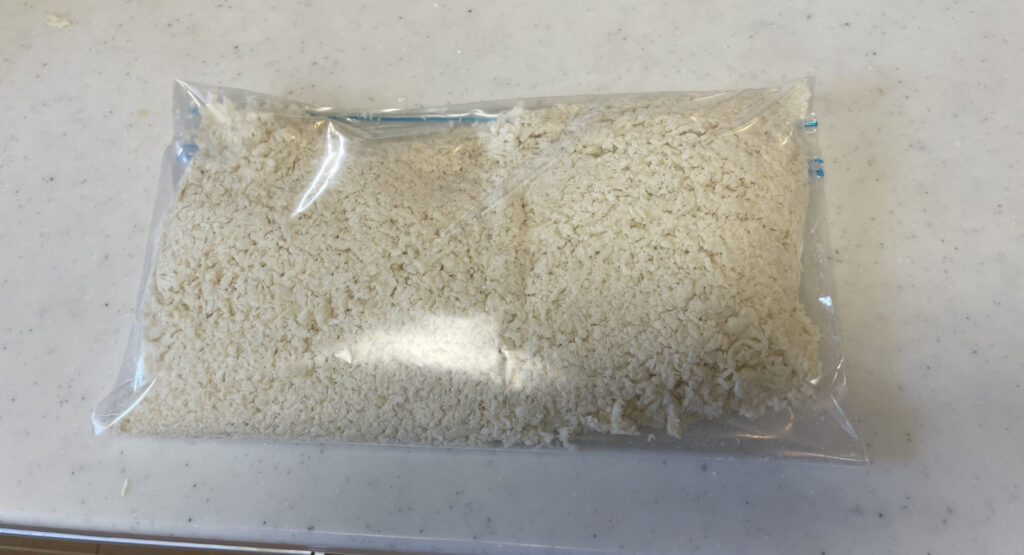
3. Rest Dough
After Step 2, put the dough in a re-sealable zipper storage bag, and seal the bag to prevent the dough from drying out. Rest it for about 1 hour . This is to help moisture penetrate throughout the whole wheat flour utilizing the rules of osmotic pressure.
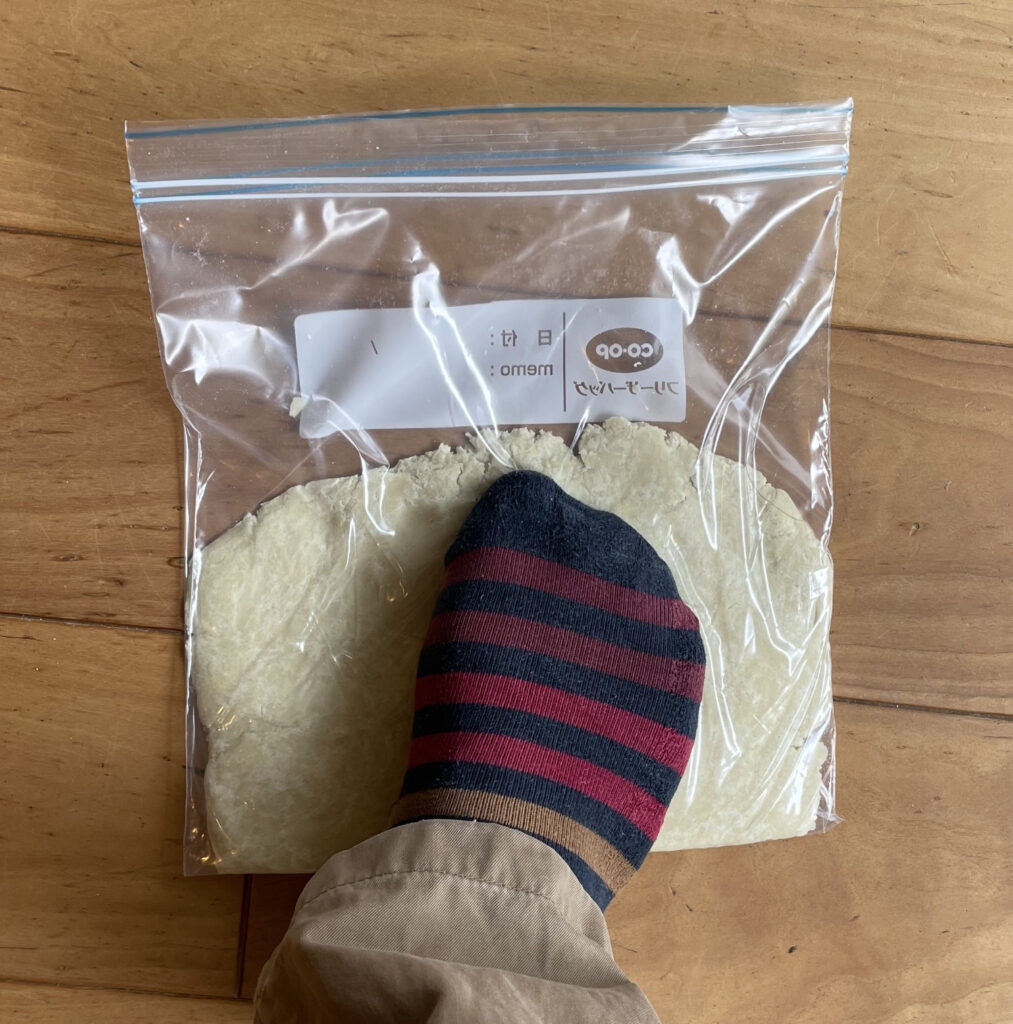
4. Step on the Dough (First Time)
Consolidate the bread crums state dough. Open the zipper of the bag just a little to let the air go. Step the dough little by little from the opposite side of the air hole.
5. Step on the Dough (Second Time & Third Time)
Take out the dough from the bag, and fold the dogh. Then put it back to the bag and step on it. When the dough becomes thin again, take it out and fold it. And put it back to the bag, and step on it. You repeat this series of work 3 times.

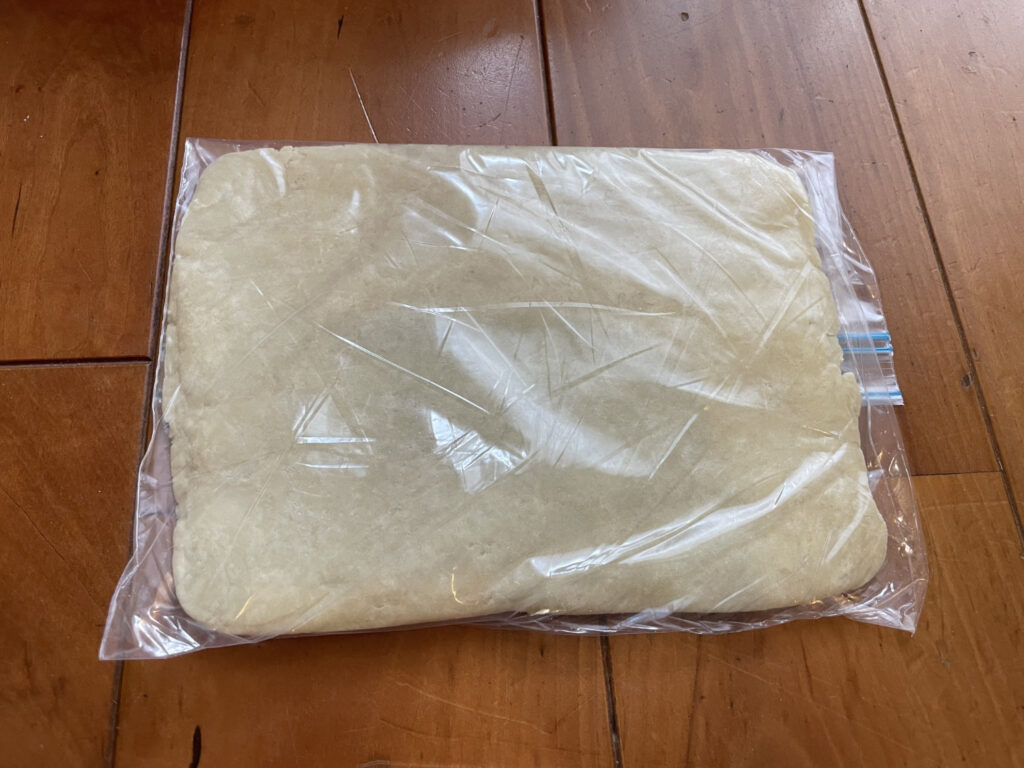
6. Rest the Dough again
At this point, we will be able to see consolidated dough, but it is far from homogeneous. It is partly whity without moiture penetrating. So rest the dough again untill all of the mixture is moistened. This step makes the following steps easier. Rest the dough for at least 2 hours, so that the color of the dough becomes even yellow.
| You can rest the dough longer (=aged dough) |
| You can rest the dough for 1~2 days in the refrigerator. I usually complete step 6 on the day before I make Ramen and rest the dough all ninght long, because it helps noodles become more smooth. However it also causes them to lose wheat aroma, so it depends on the person’s choice. In addition, to let the dough rest for longer hours facilitates the following steps. Low hydration dough (< 30%) is so difficult to handle without such a long rest because of less moisture. For those reasons, I usually rest the dough overnight. |
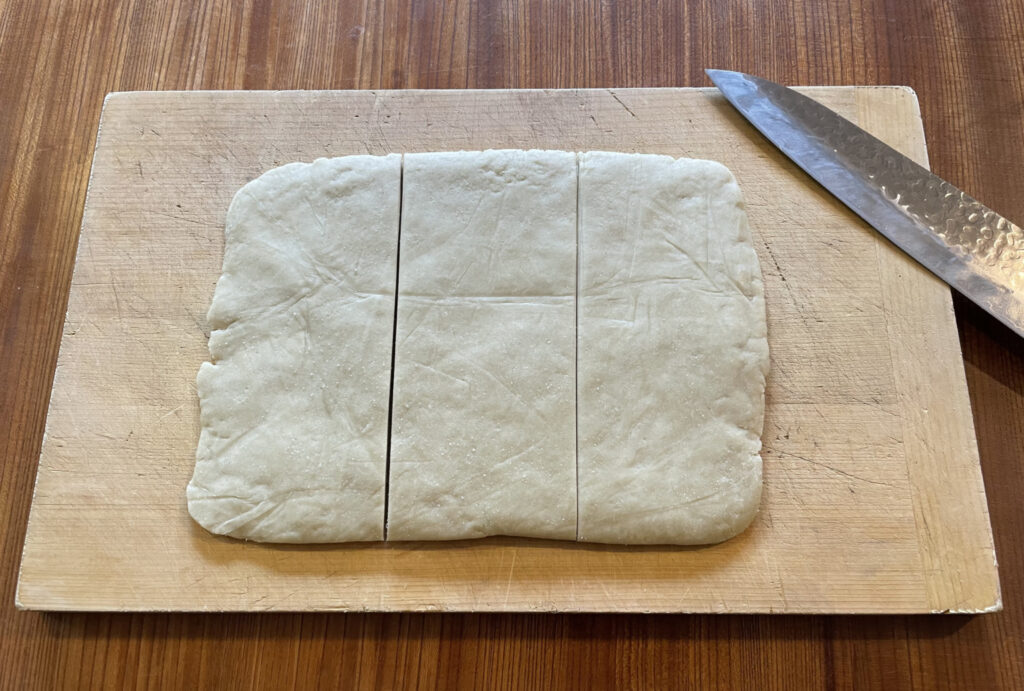
7. Cut the Dough into Appropriate Size Pieces
The time is coming to use a pasta machine! Cut the dough into appropriate size pieces so that they can pass throguh the pasta machine easily. This time, let’s cut it in thirds. You are making 420 g noodles from 300 g flour and 120cc water, so if you divide it into three portions, you will have 140g noodles for each. I think they are appropriate for 1 portion.
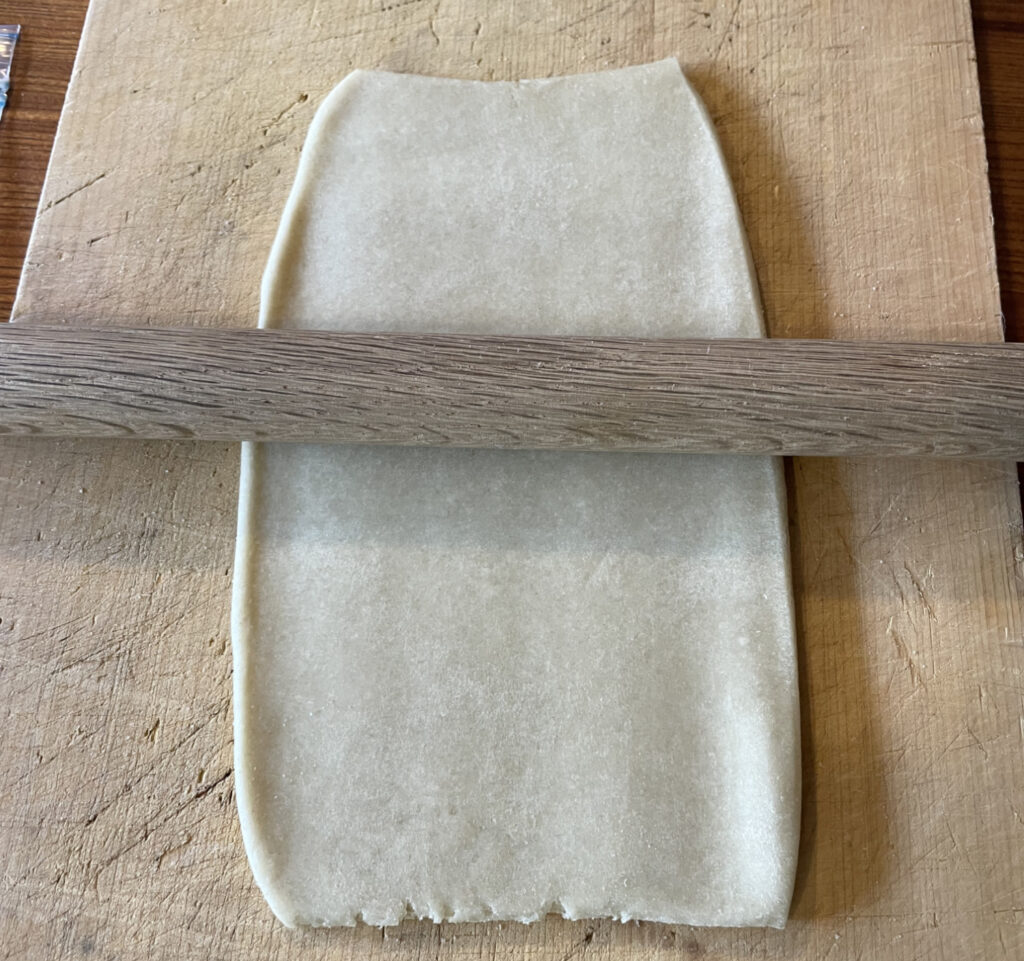
8. Roll out the Dough Using a Rolling Pin as Thin as Possible
Before passing the dough through the machine, roll out it using a rolling pin as thin as possible. It will prevent not only breakage of the machine, but also negative effect on formed gulten. Without this step, your noodles might be less elastic, so this is very important.
9. Set the ADJ Knob to No. “0” and Feed the Dough through the Roller
Set the adjustment knob of the machine to “0”, and feed the each piece of dough through the roller respectively.
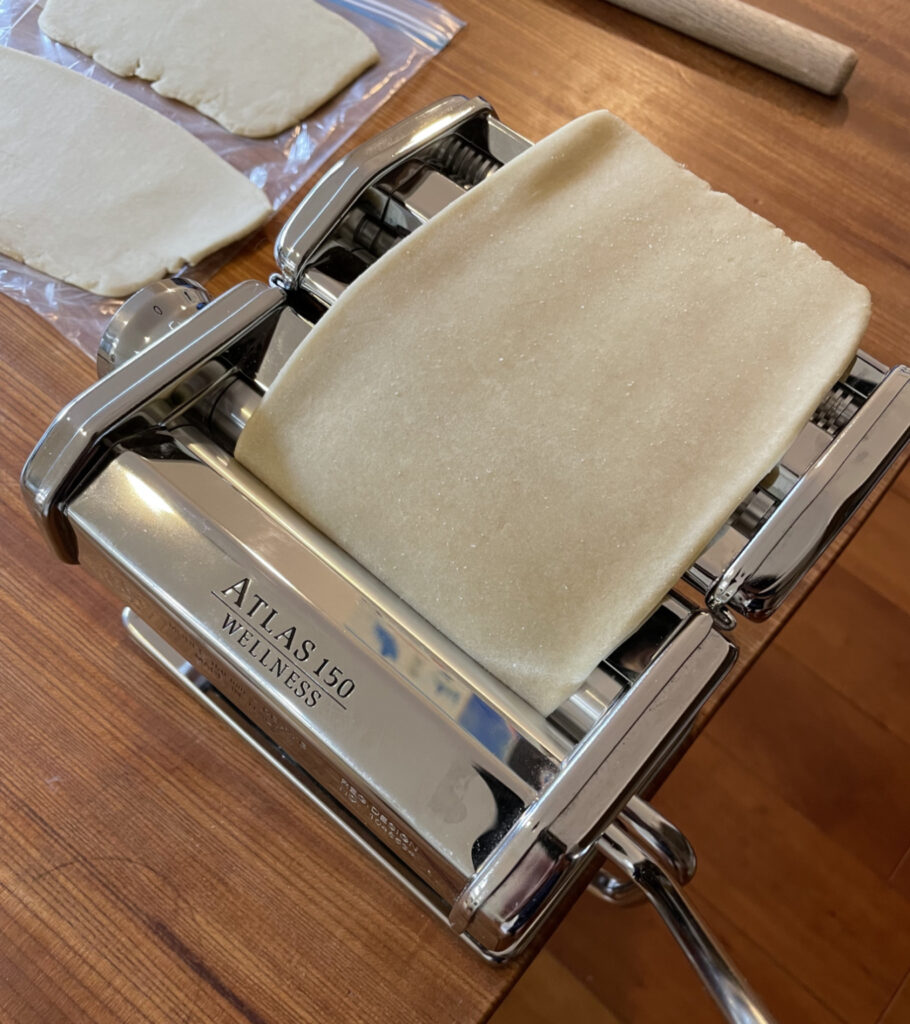
10. Set the ADJ Knob to No. “1”, “2”, “3” and Feed the Dough in Turn
Set the adjustment konb to number “1” and pass the dough sheet through. And then set the adjustment knob to number “2”, and pass it throgh. And after that, set the adjustment knob to number “3”, and pass it through. You need to change number one by one. You can’t skip over numbers. Otherwise, too much pressure at a time would destroy formed gulten, leading less elastic noodles. Follow the process for each piece respectively.
11. Roll out the Dough as Thin as You Want
Roll out the dough as thin as you want. This time, I did it until No. “5”, which is an orthodox thickness. When you make typical thin noodles for pork bone (“Tonkotsu”) Ramen, you roll out the dough until No. “8”. On the other hand, if you want to make thick noodles, No. “4” might be good. Again, you can’t skip over the number when you work.
12. Cut the Sheet(s) of Dough to the Appropriate Length
Cut the sheet(s) of dough to the length you want. It decides the length of noodles. It is usually around 30cm. (This time, I skip this step because I’ve already divided the dough into three in advance.)
13. Cut each Dough into Long Strips of Noodles with Pasta Machine
Cut each sheet of dough into long strips of noodles using a cutter of the pasta machine. This time I used a 1.5mm cutter.
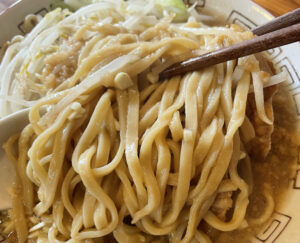
14. Completed!
It’s completed.
Sprinkle potato starch or corn starch to prevent the noodles from sticking.
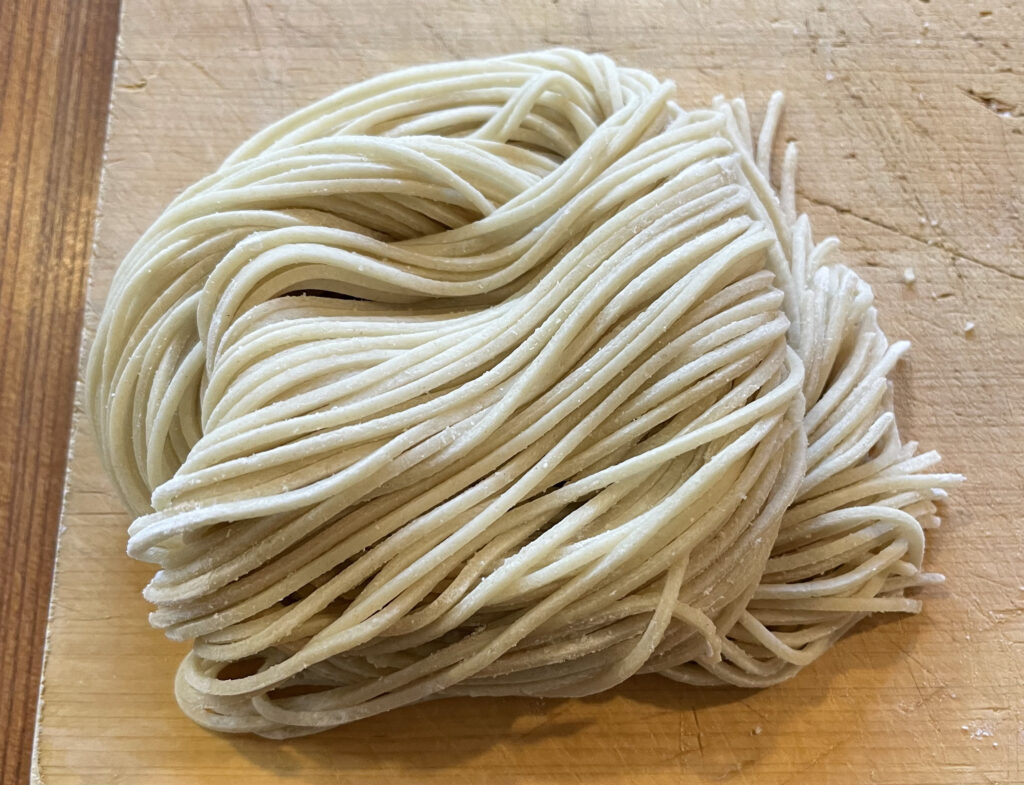
The noodles you’ve just made are chewy and so goog with wheat aroma, so I highly recommend that you have them soon.
Homemade noodles can be kept for about 5 days in the fridge, and about 1 month in the freezer. I usually keep my noodles in the freezer.
That’s all for making noodles for Ramen.
Shall we ramen?
See you!