
Hi! This is Komugi!

I enjoy making Ramen at home!
Pasta machine enables you to make noodles for Ramen at home easily. I really recommend homemade noodes because they are so great. The article on how to make homemade noodles with pasta machine is here ↓
Basically, you can make noodles for Ramen following the above article. In addition to that, I’ll give you extra tips when you make low hydration noodles. Low hydration noodle dough is so hard that it can break the pasta machine when it passes through. And also, low hydration dough doesn’t come together easily.
This time, I’m going to introduce how to make Jiro style “Washi Washi noodles” at home giving you some advice on those phenomena. Let’s get started!
Tips When Making Low Hydration Noodles!
There are 3 important points when making low dydration noodles.
Point 1: Hydration rate
In general, hydration rate = water weigh / flour weight * 100. However, we need to be careful a little because some recipes take account of only water while others consider every liquid including Kansui and others. In my blog, hydration rate is exactly water weight / flour weight * 100.
Low hydration noodles literally means using “less water”. One of its representatives is super thin noodles for Hakata Ramen, which have distinctive crunchiness and unique bite texture with strong wheat aroma.
The following chart shows hydration rate, representative samples and features for each group.
| Hydration rate | Representative | Features | |
|---|---|---|---|
| low hydration | 28%〜32% | Hakata Ramen Jiro style Ramen | distinctive crunchiness powdery strong wheat aroma likely to soak up the soup easy to go soft by boiling |
| middle hydration | 33%〜38% | Iekei Ramen classic Ramen | middle between high and low |
| high hydration | 39%〜46% | Tsukemen/dipping noodles Kitakata Ramen | chewy texture smooth aroma of wheat is weak unlikely to soak up the soup not easy to go soft by boiling |
※The above table is made from my point of view, so there might be different opinions.
It is said that 30% is too high hydration rate for Hakata Ramen, and that they make 25 % hydration rate noodles for it. However there are some noodles with additives such as wheat gulten and thickener. I think it is too difficult to make 25 % hydration rate noodles at home without such additves. The above figures purely represent water weight / flour weight * 100, and you can make noodles within those rate.
Point 1
●Hydration rate : about 28%〜32%
Point2: Protein in Wheat flour
The quantity of protein in the wheat flour is also the key to success when you make low hydration rate noodles. In the case of low hydration noodles, it’s impossible to come together without certain amount of protein. So, please use high protein wheat flour. It means strong flour which contains between at least 12% to ideally 14% protein. For example, “Prime Hard”, “Ocean”, and “Yumechikara” are available.
Point2
●Use high protein wehat flour (=strong flour containing 12%~14% protein)
Point3:Let the Dough Rest for Longer Hours
It takes more time to distribute water evenly to low hydration rate noodles because of its small amount of moisture, so please let the dough rest for longer hours than usual. The dough should be rested at least all night long.
At the begining, the dough seems far from homogeneous. It is partly whity without moiture penetrating. However it gets moistened after the priod of rest. This step makes the following steps easier.
Point3
●Let the dough rest at least all night long!
Let’s Make Jiro Style Ramen!
Let me explain detailed steps to make make Jiro style “Washi Washi noodles”, which is relatively easy to make among low hydration rate noodles.
Ingredients
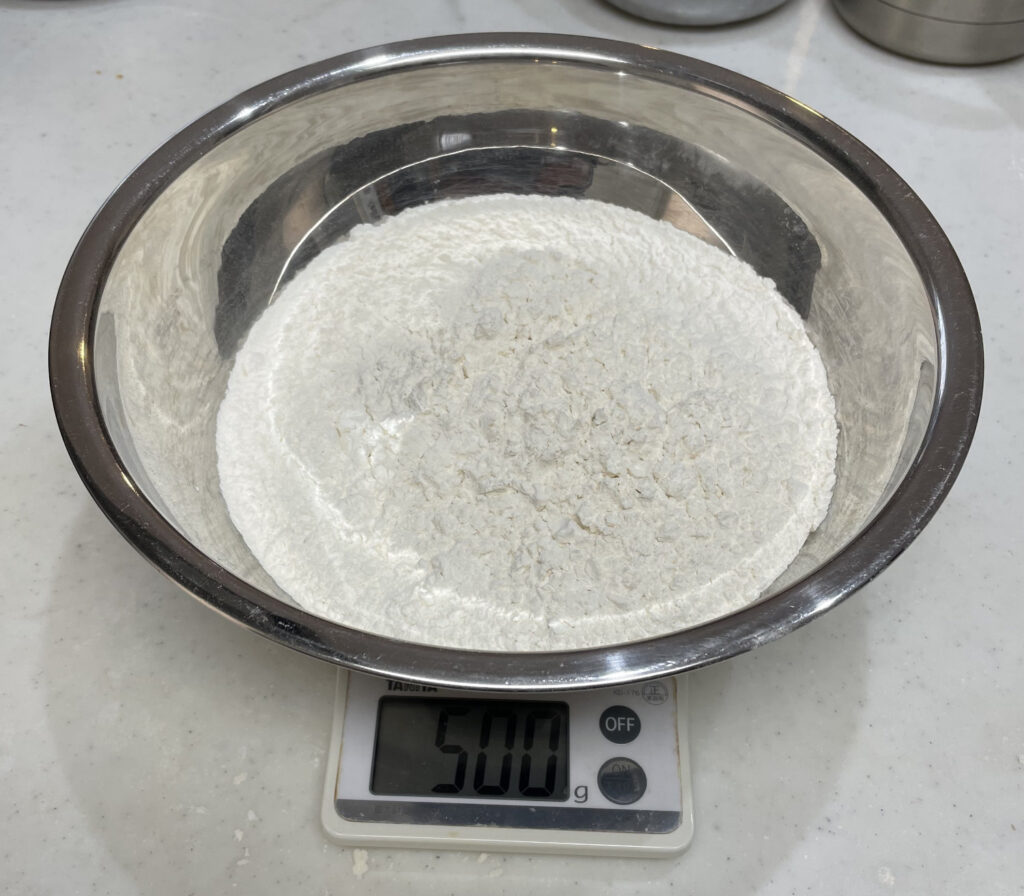
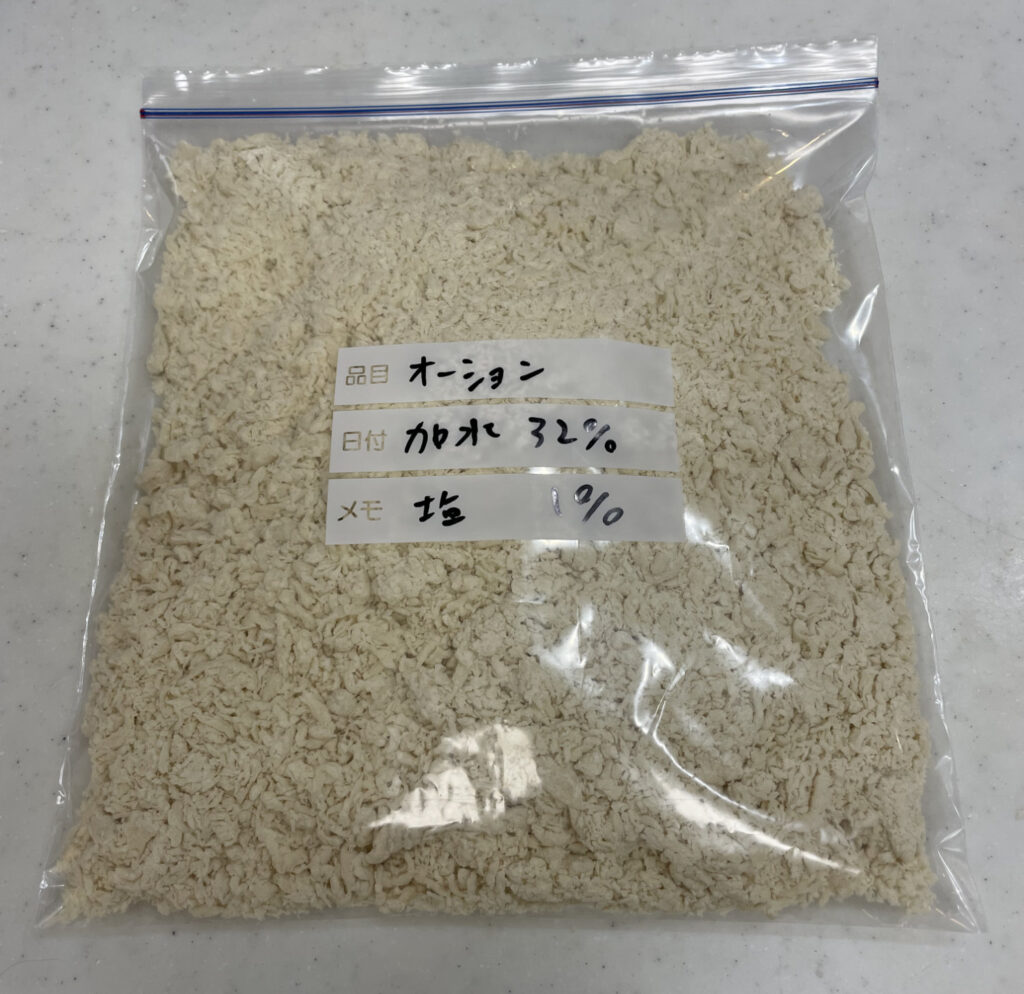
・”Ocean” flour 500g
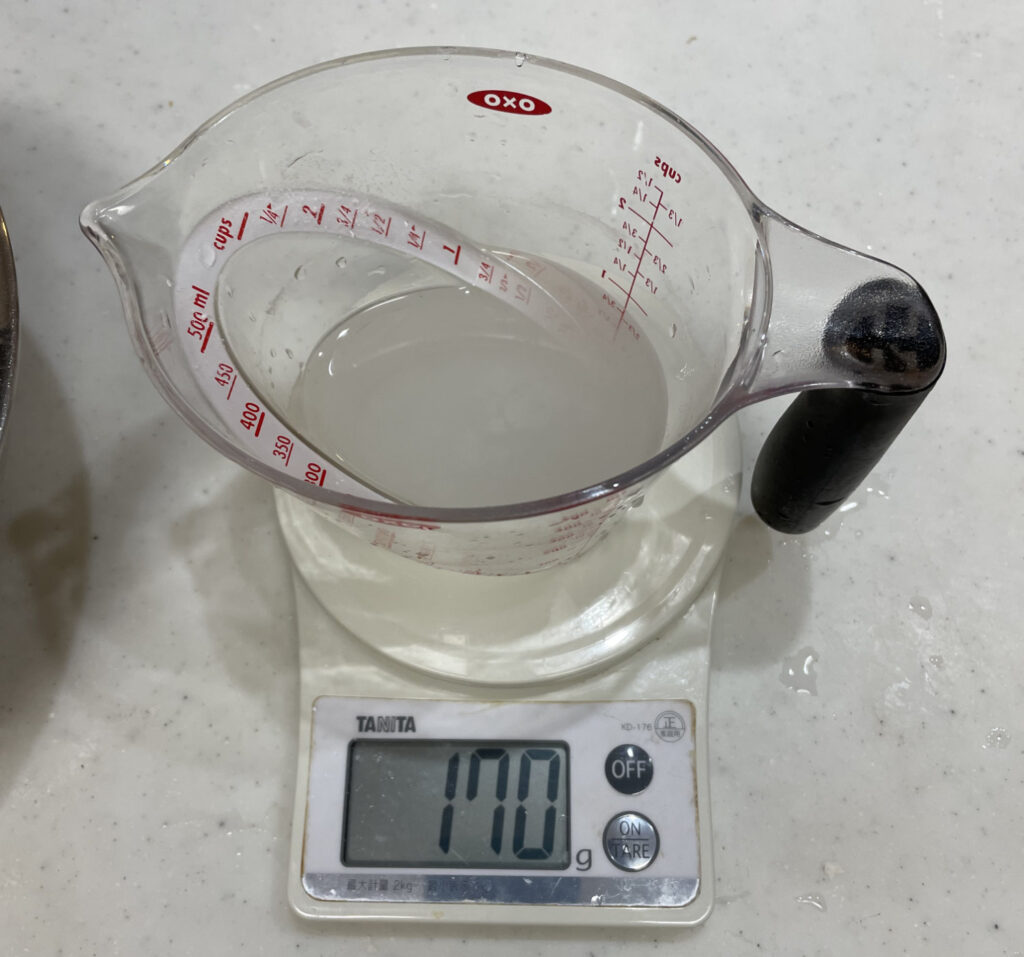
・Water 160g ※Hydration rate 32%
・Salt 5g
・Kansui 5g
When it comes to noodles for Jiro style, some people immediately think of “Ocean” flour. “Ocean” has strong rich taste. I highly recommend it because it is usable for a wide range of noodles.
1 Measure Ingredients Accurately
It is really important to measure ingredients accurately. It it out of question to measure by the eye.

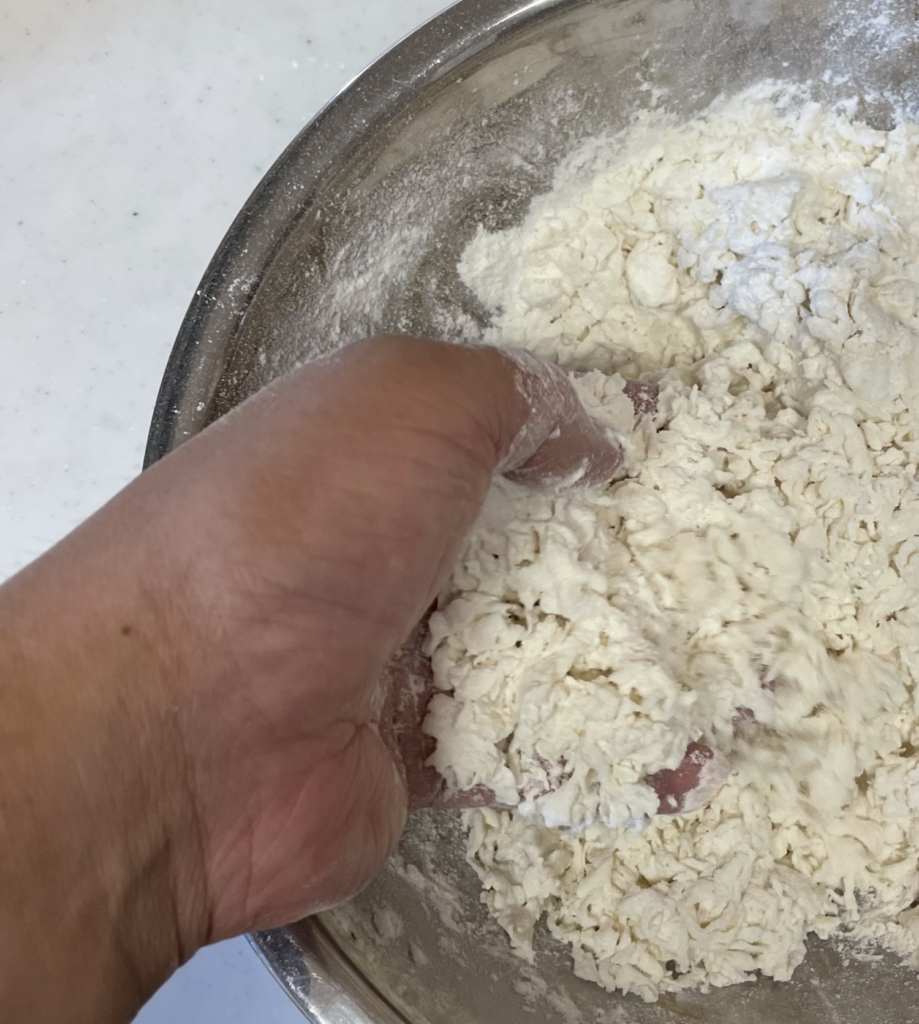
2 Pour Water Solution evenly into Flour in a Soft Circular Motion.
Pour Kansui and salt into water and mix them well.
Pour all the solution into flour.
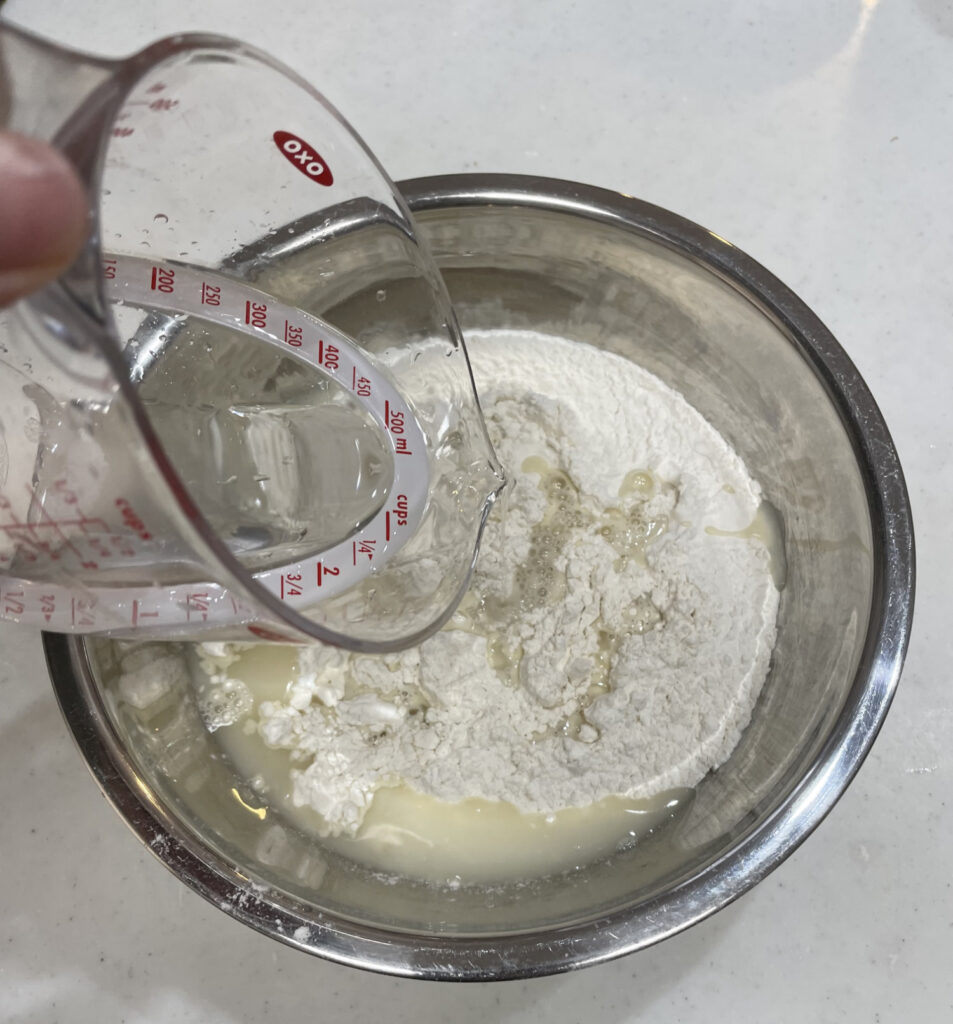
Start to mix it gently with chopsticks or other utensils.
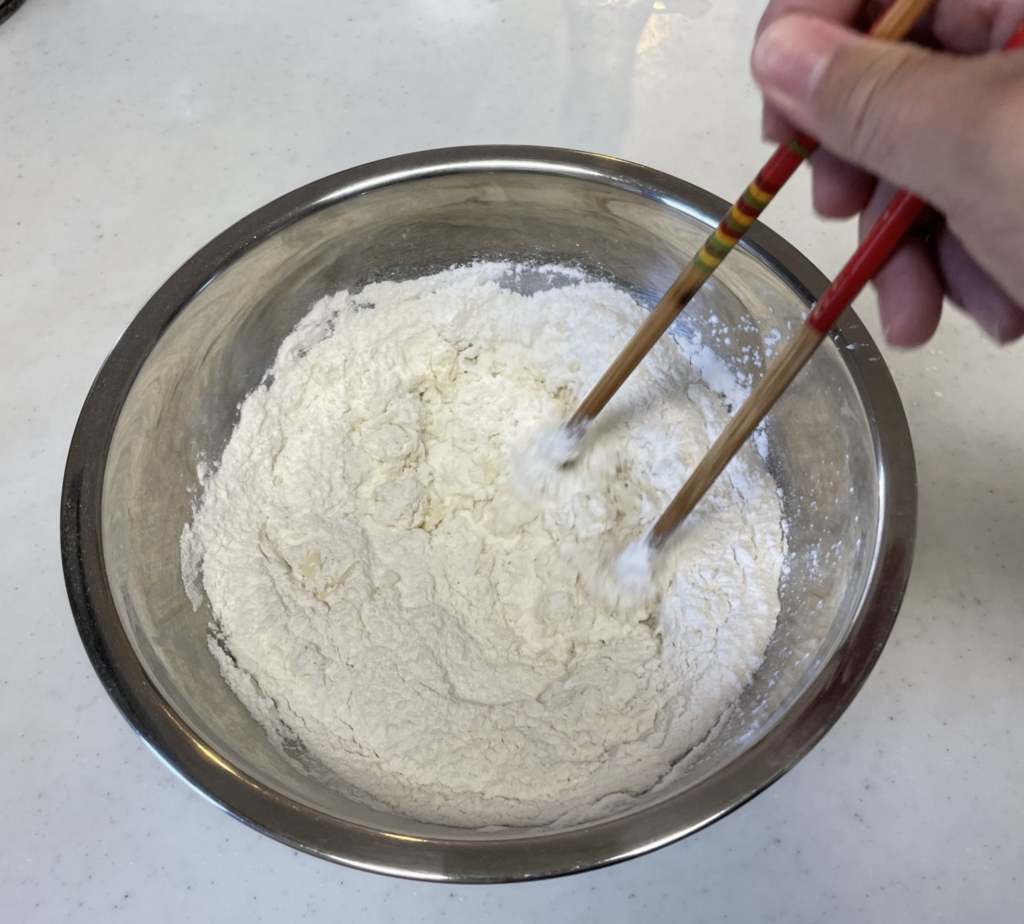
The goal of this step is to make every grain of wheat flour even hydration, so please do not squeeze the dough here.
After that, scoope up flour from the bottom to distribute water evenly to it. Do not forget to put back the dough sticking to your hands or the edge of the bowl. If it looks like bread crumbs, it means you are doing very well.

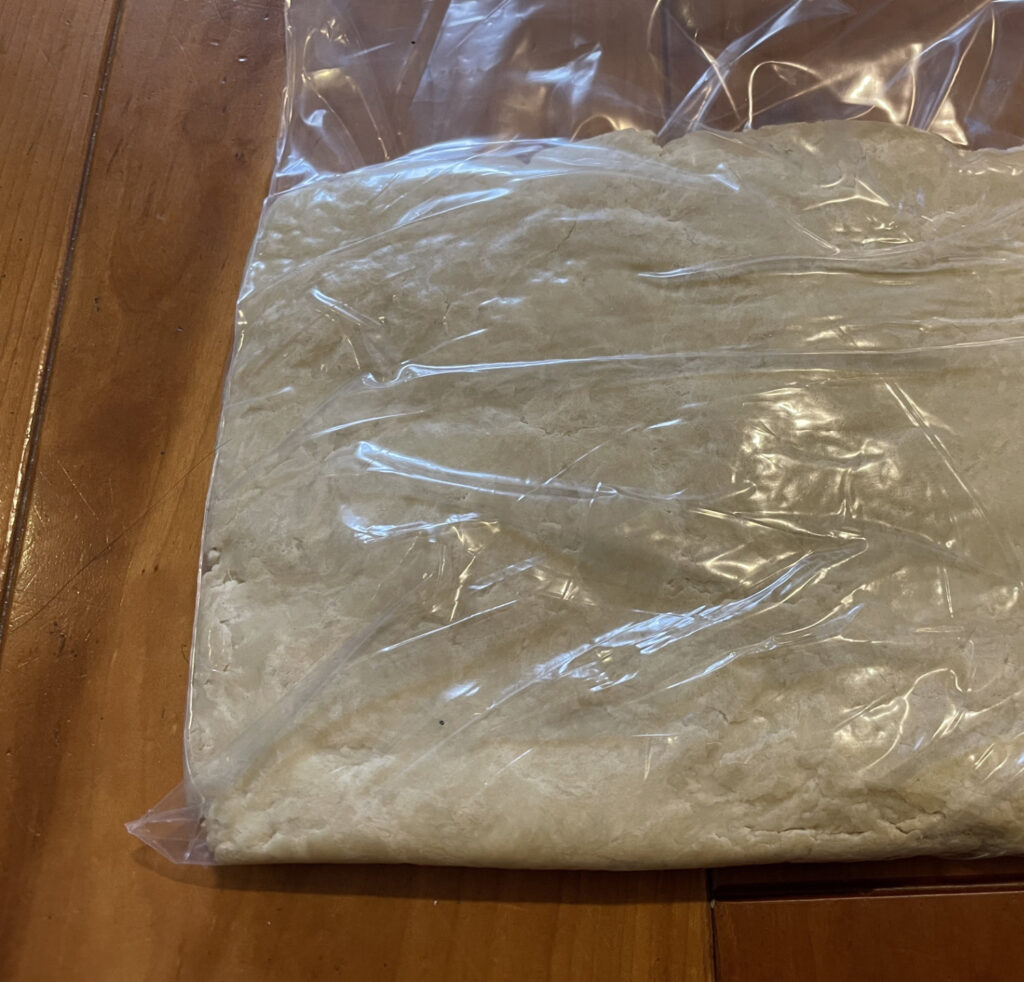
3 Rest Dough
After Step 2, put the dough in a re-sealable zipper storage bag, and seal the bag to prevent the dough from drying out. Rest it for about 1 hour . This is to help moisture penetrate throughout the whole wheat flour utilizing the rules of osmotic pressure.
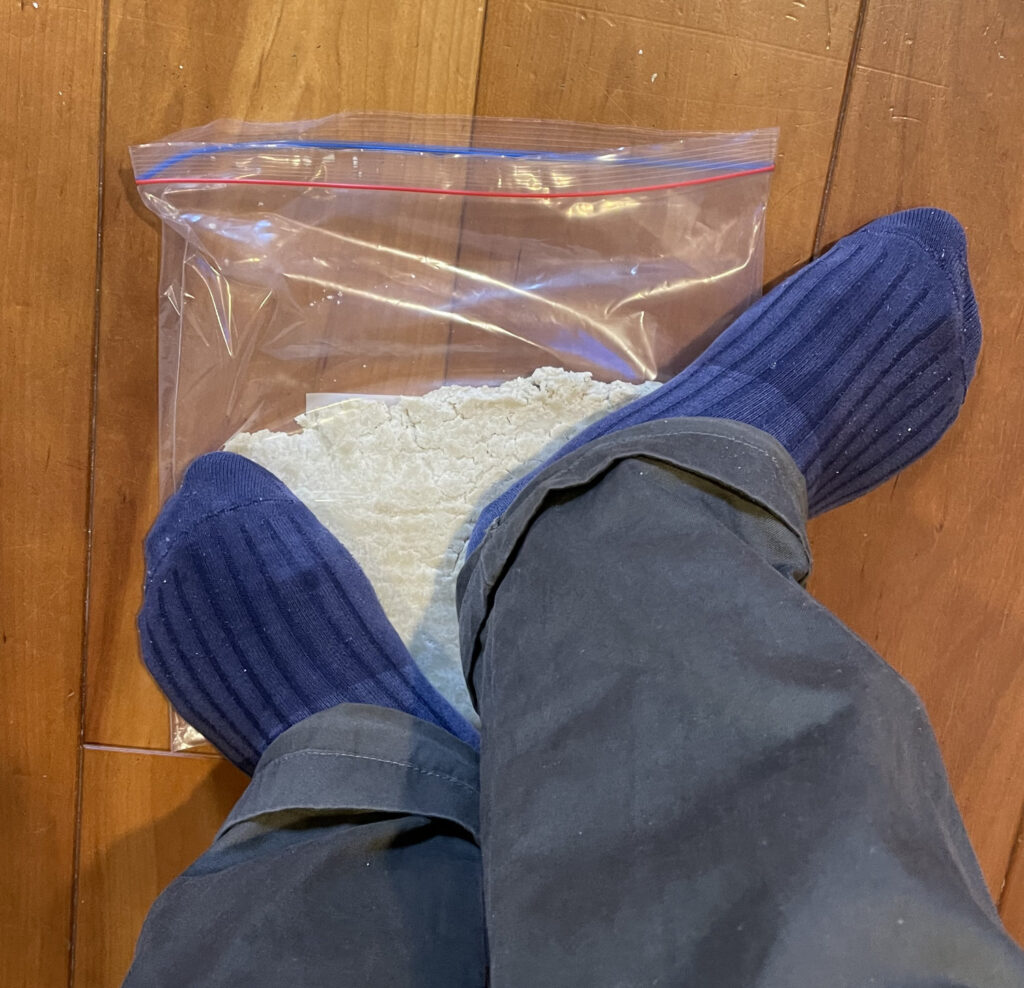
4 Step on the Dough (First Time)
Step on the dough after the period of rest.

Consolidate the bread crums state dough. Open the zipper of the bag just a little to let the air go. Step the dough little by little from the opposite side of the air hole.


5 Step on the Dough (Second Time & Third Time)
Take out the dough from the bag, and fold the dogh. Then put it back to the bag. Although the dough is still likely to fail in keeping the shape, just keep doing it.

Then step on it. When the dough becomes thin again, take it out and fold it. And put it back to the bag, and step on it. You repeat this series of work 3 times.
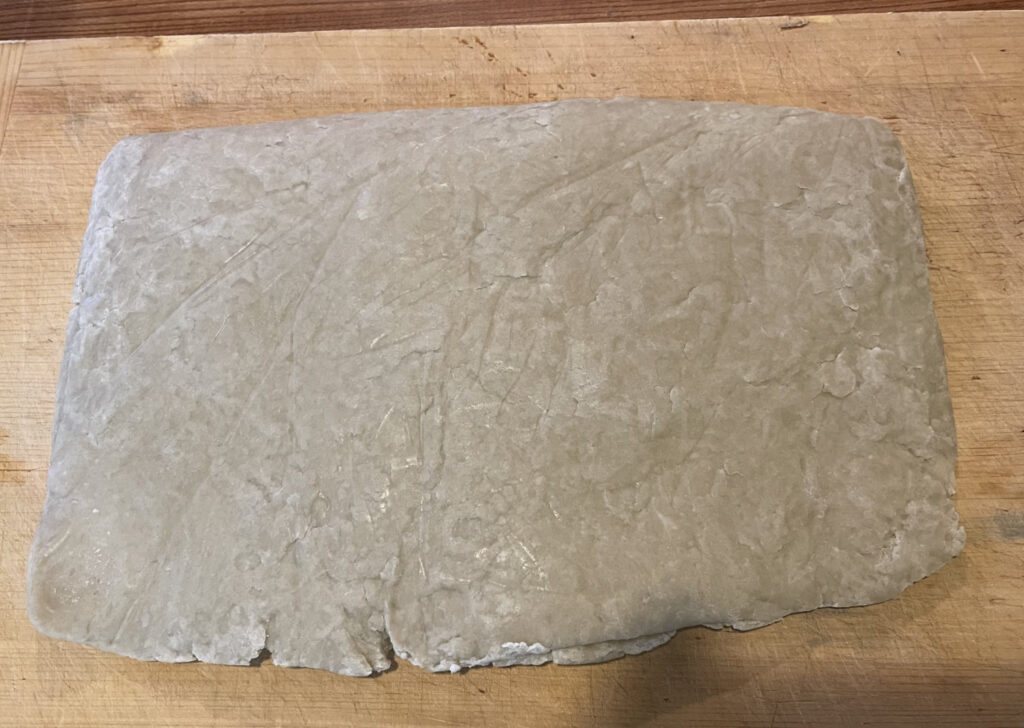
As you repeat the above process the dough is getting consolidated.
3 sets of the work (=”stepping on” and “folding”) is usually enough to make the dough completed, but it is only a guide. Please repeat the work until the dough becomes homogeneous.
If the dough cannot help but fail in keeping together, seal the bag and rest the dough for another 2 hours. And then return to the process of “stepping on” and “folding” again.
In this way, you make the dough together manually. It can prevent a pasta machine from breaking. Low hydration rate dough is so hard that it can damage a pasta machine without this preparation.
6 Rest the Dough again
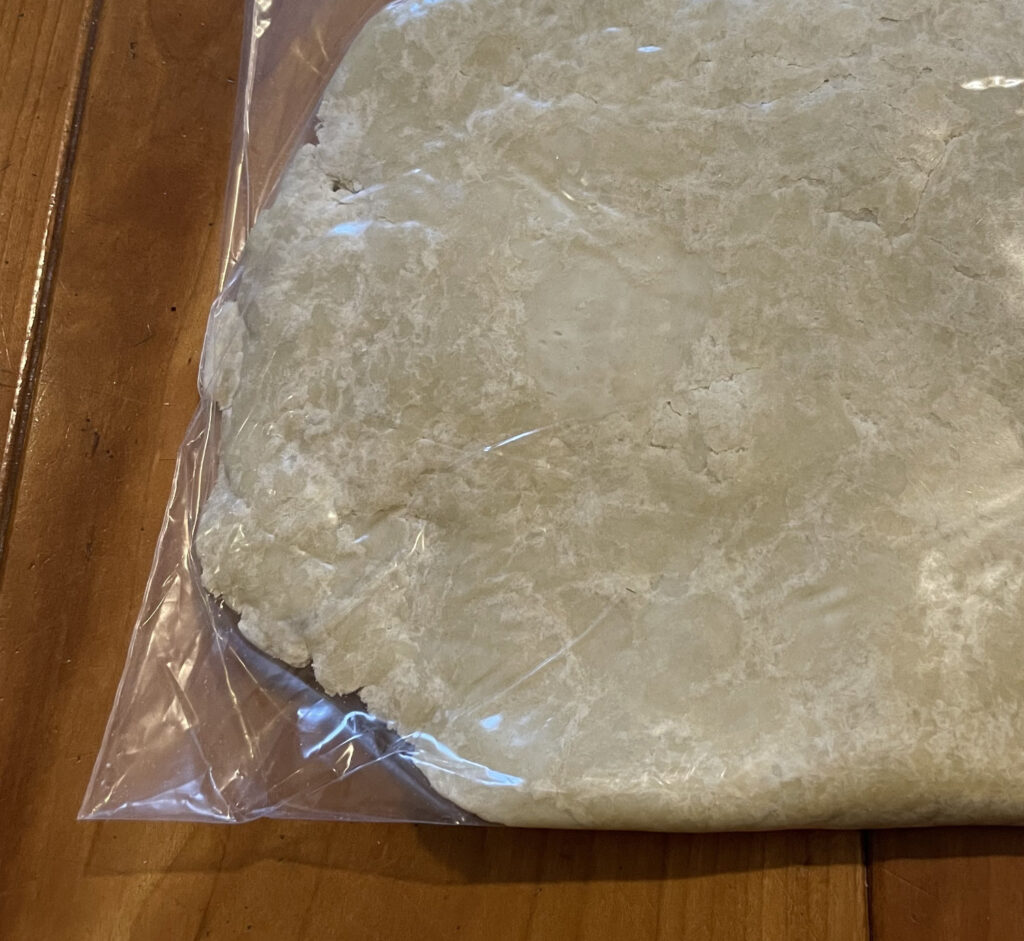
After 3 sets of the work, you’ll see consolidated dough. However it is still partly whity without moiture penetrating.
Rest the dough again untill all of the mixture is moistened. This step makes the following steps easier. Let the dough rest for at least all night long, so that the color of the dough becomes even yellow. This process is called “aging“. In order to age the dough, you just seal the bag and leave the dough in the refrigerator.
Age the dough well!
Let’s review point 3 here. In the case of how hydration rate dough, it doesn’t come together without aging process. Aging the dough helps moisture penetrate throughout the whole wheat flour and make the following steps easier. And it also makes noodles smooth. For these reasons, you need to rest the dough well.
7 Cut the Dough into Appropriate Size Pieces
After one night aging, the time to use a pasta machine is coming! Take out the dough from the bag.
Cut the dough into appropriate size pieces so that they can pass throguh the pasta machine easily.
I cut in thrids this time.

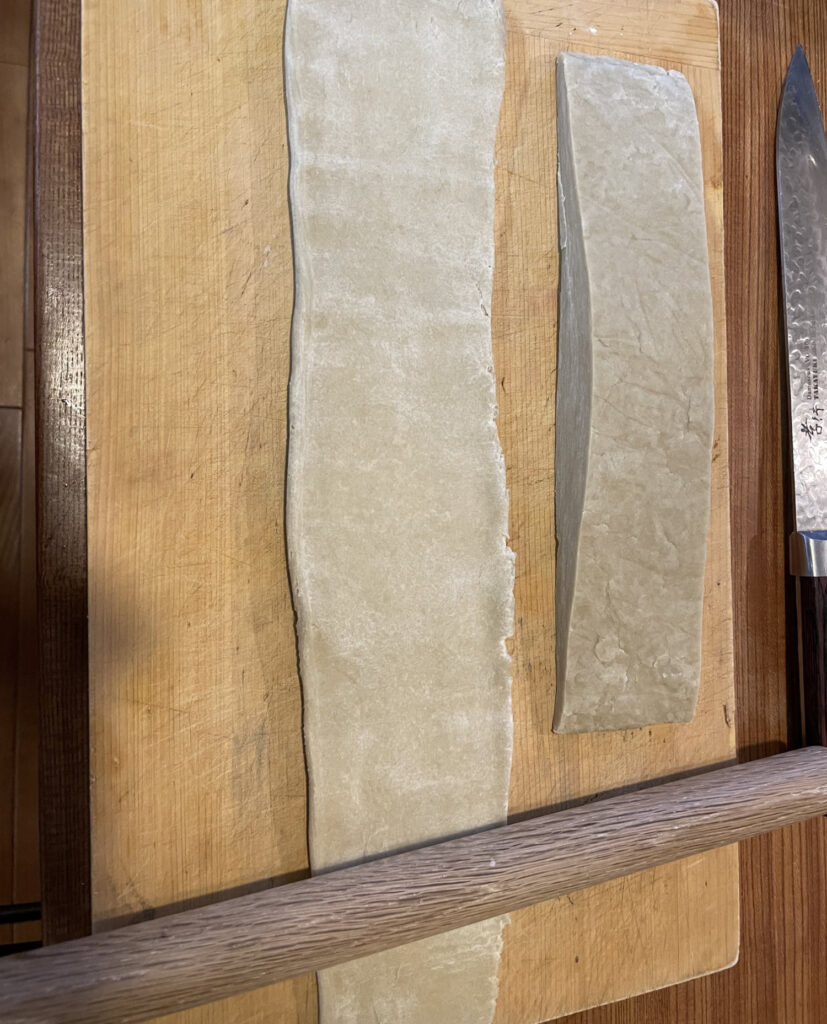
8 Roll out the Dough Using a Rolling Pin as Thin as Possible
Before passing the dough through the machine, roll out it using a rolling pin as thin as possible. It will prevent not only breakage of the machine, but also negative effect on formed gulten. Without this step, your noodles might be less elastic, so this is very important.
9 Set the ADJ Knob to No. “0” and Feed the Dough through the Roller
Set the adjustment knob of the machine to “0”, and feed the each piece of dough through the roller respectively.

10 Set the ADJ Knob to No. “1”, “2”, “3” and Feed the Dough in Turn
Set the adjustment konb to number “1” and pass the dough sheet through. And then set the adjustment knob to number “2”, and pass it throgh. And after that, set the adjustment knob to number “3”, and pass it through. You need to change number one by one. You can’t skip over numbers. Otherwise, too much pressure at a time would destroy formed gulten, leading less elastic noodles. Follow the process for each piece respectively.
11 Roll out the Dough as Thin as You Want
Roll out the dough as thin as you want. This time, I did it until No. “5“, which I think is suitable for Jiro style noodles.
*I use ATLAS 150 pasta machine.
12 Cut the Sheet(s) of Dough to the Appropriate Length
Cut the sheet(s) of dough to the length you want.
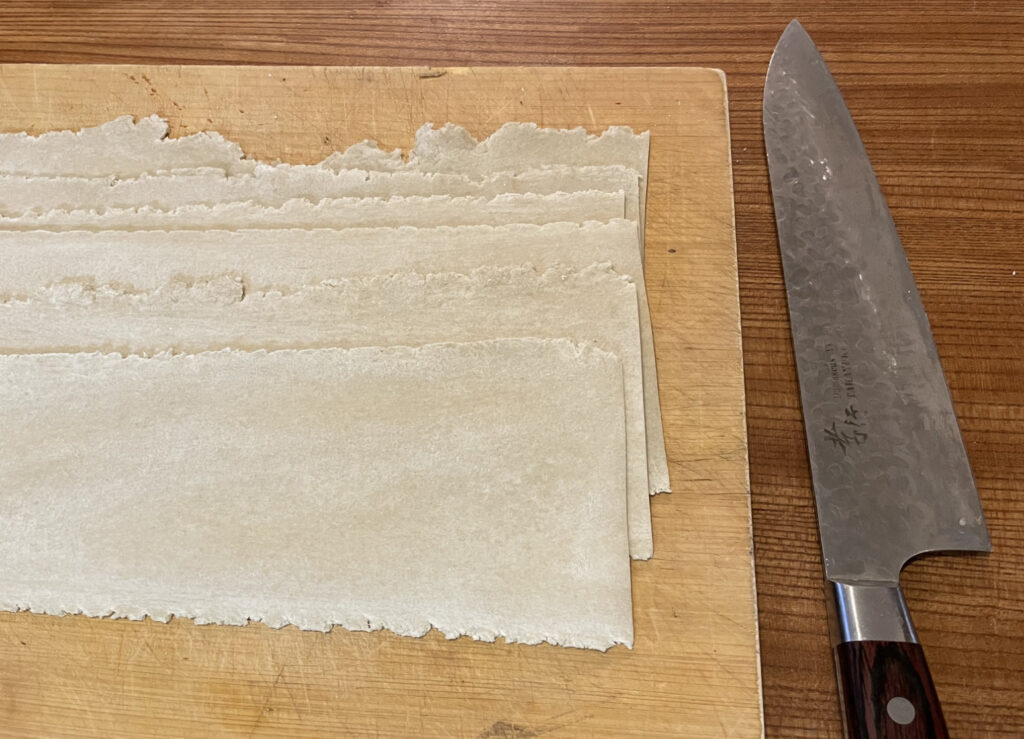
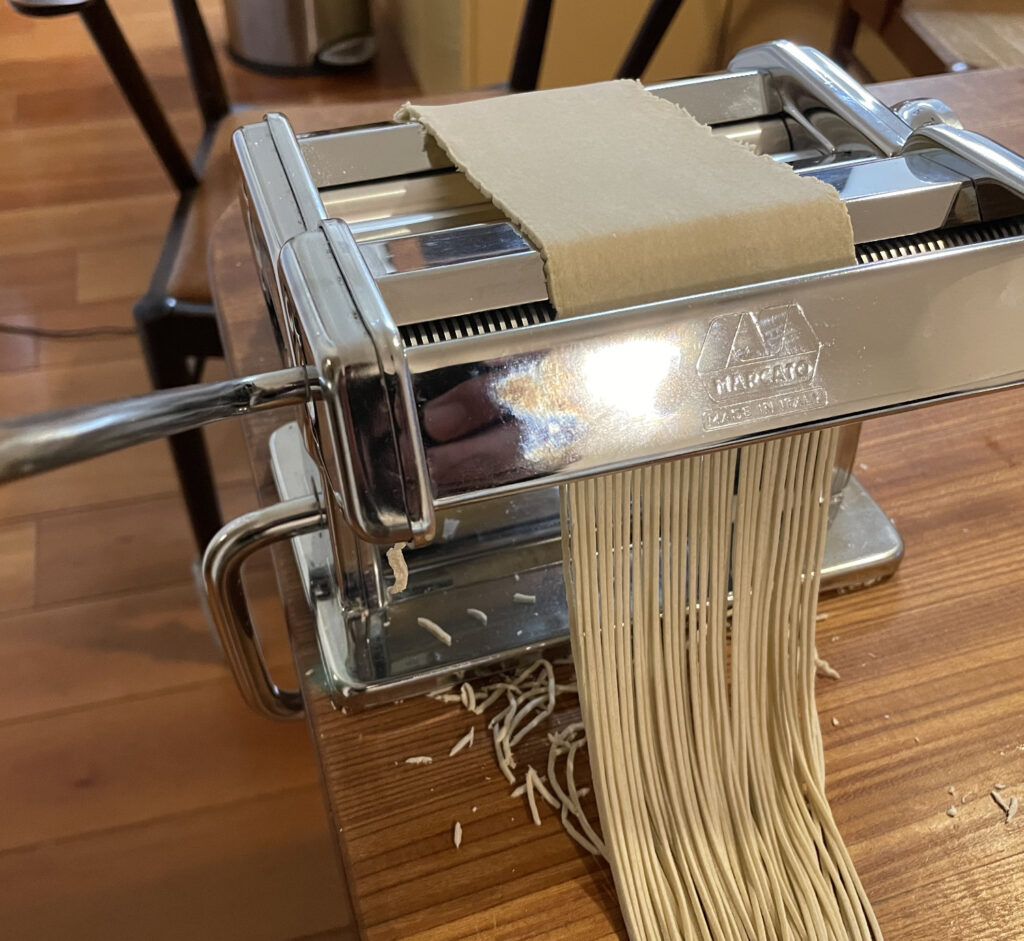
13 Cut each Dough into Long Strips of Noodles with Pasta Machine
It’s an exciting moment! Cut each sheet of dough into long strips of noodles using a 3.5mm cutter of the pasta machine.

※3.5 cutter maight not come with the current model of ATLAS 150, so you probably need to buy it separately.
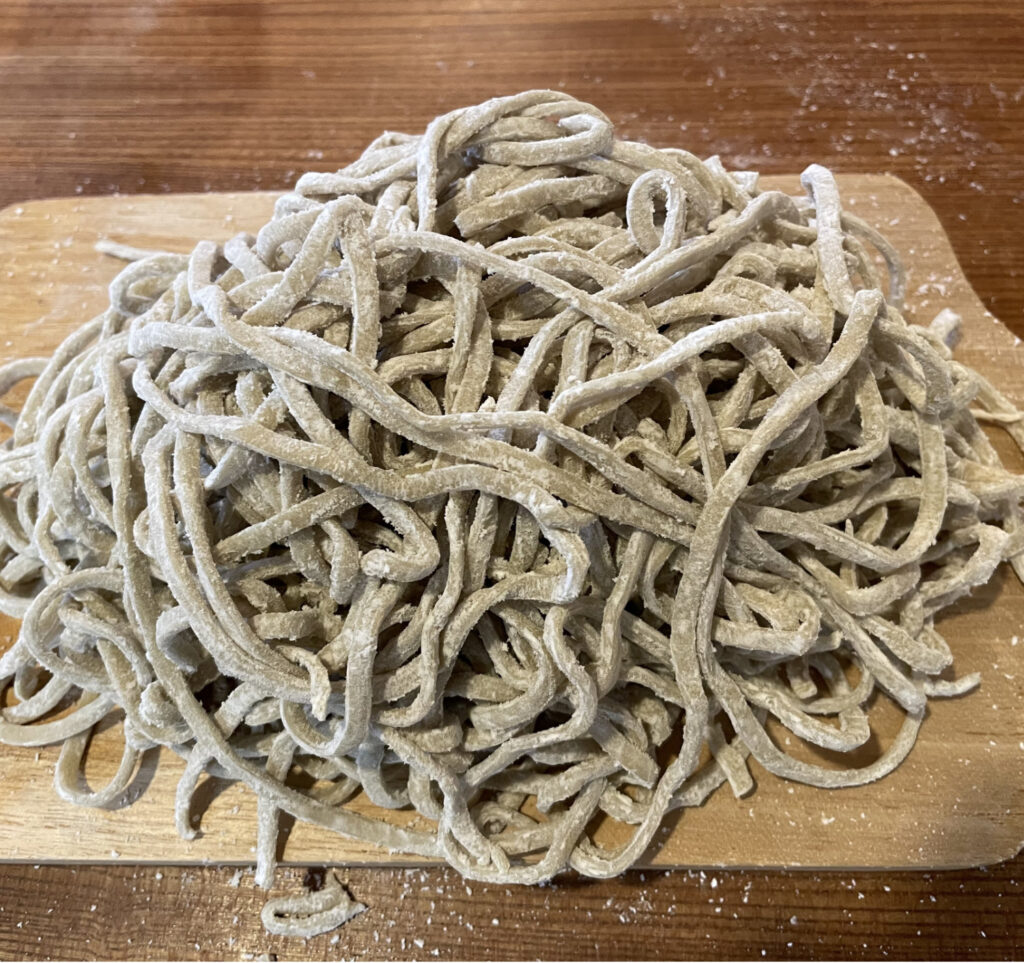
14 Another effort! Make Curly Noodles
Le’ts make another effort to make your noodles curly. Sprinkle flour and crash them with your hands! You can do it with your full strength.

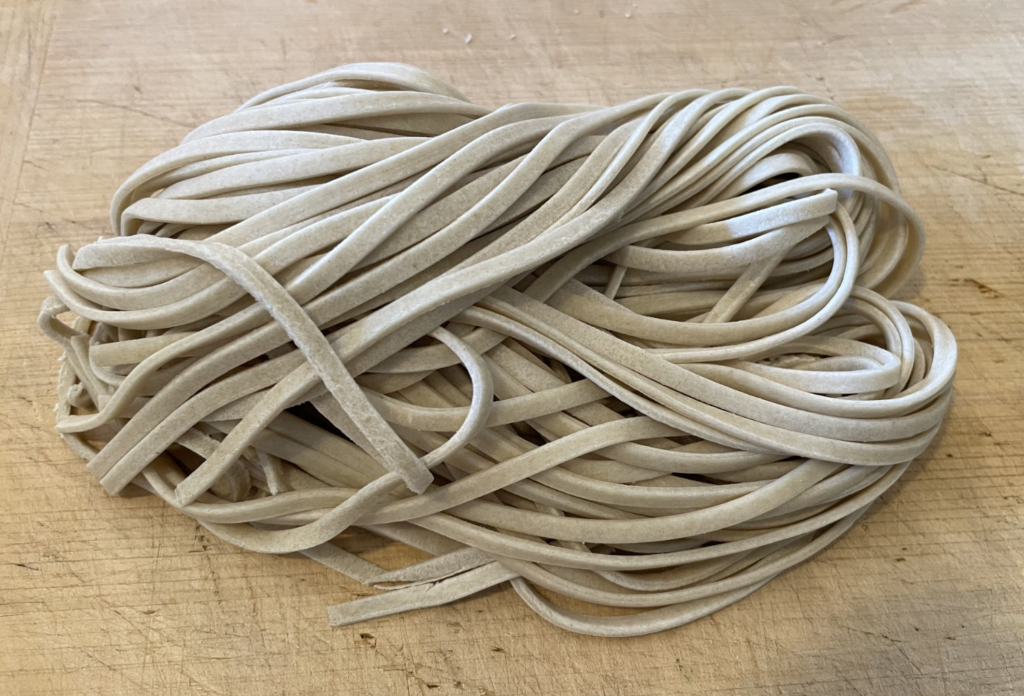
15: Completed!
Curly Jiro style “Washi Washi noodles” are completed!
Extra thin noodles for Hakata Ramen
I Rolled out the rest of dough until No. “6” and cut it into stripes of extra thin noodles using 1 mm cutter.
Thin noodles made from “Ocean” flour are also wonderful. They are fitted for traditional Ramen.
Adjusting hydration rate to less than 30%, you can make extra thin noodles for Hakata Ramen by following the above steps.
Tasting!
I made Jiro style Ramen!
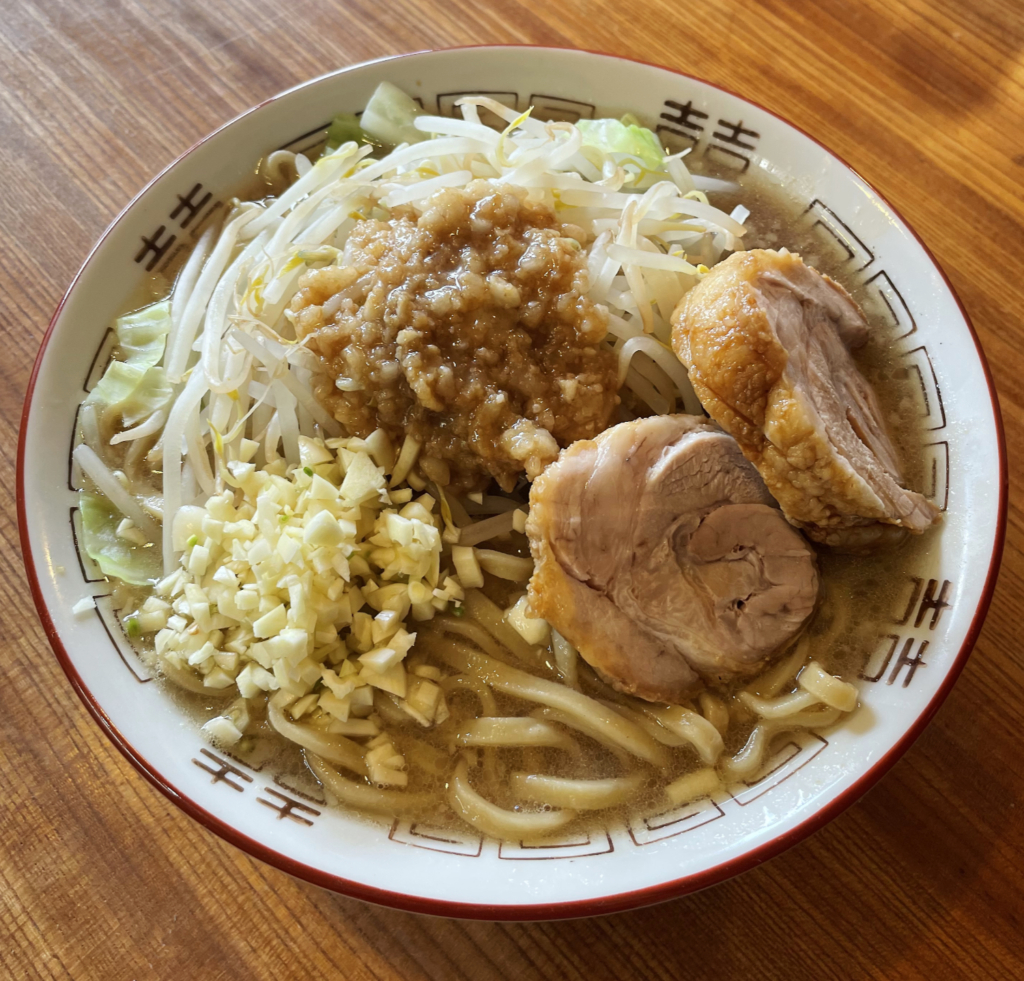
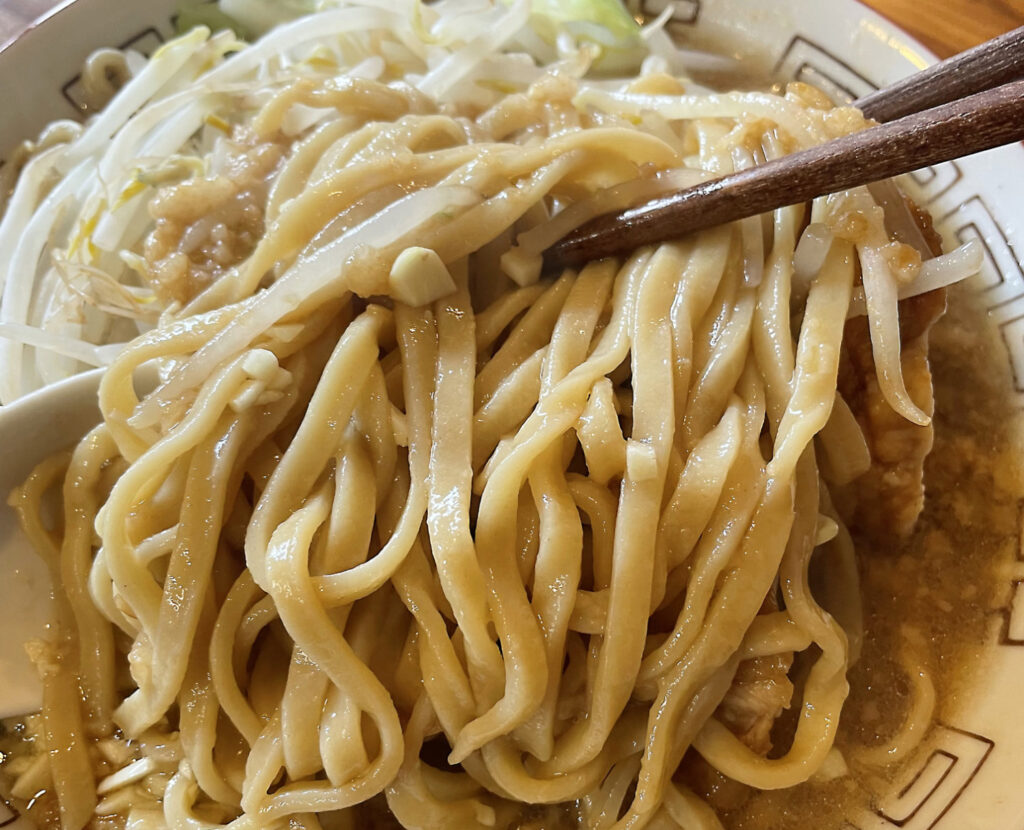
It’s so nice!
I love homemade Ramen.
That’s all for how to make low hydration Chinese noodles with a pasta machine.
See you later!