Hi! This is Komugi!

I enjoy making Ramen at home!
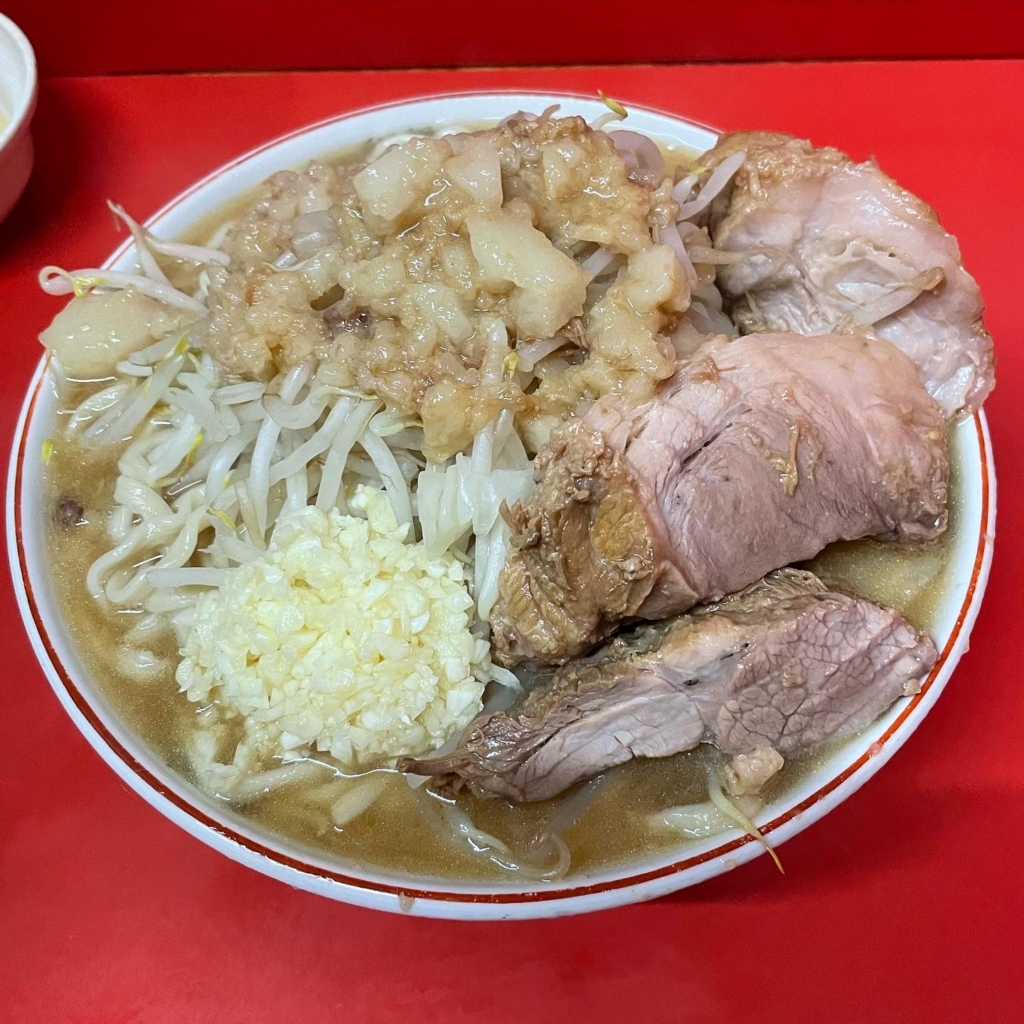
A lot of vegitables, thick slices of Chashu, rich soup with plenty of garlic and extra thick curly noodles. That’s Jiro Style! It can fascinate many people including me in my forties.
You can make Jiro style Ramen at home. I’ll tell you how to make Jiro style Ramen-inspired using basic Tonkotsu base soup I wrote about in this blog.
Let’s enjoy Jiro style at home!
【Note】What I’ll introduce is recipe of Jiro style Ramen-inspired, so the taste is not exactly the same as that of Ramen Jiro restaurants.
※My Jiro style Ramen-inspired is popular regardless of age and gender because it is a little bit milder than the original one.
Ramen of Ramen Jiro
Let’s review Ramen of Ramen Jiro.
| Soup | Tonkotsu white broth(with plenty of garlic and lard) |
| Seasoning | soy sauce |
| MSG | used a lot (,but of course you don’t have to) |
| Flavored oil | a lot of lard and backfat |
| Noodles | hydration rate : low thickness : about 3.5mm×1mm “Ocean” flour regular size (before boiling) = 300g It’s too much for an average person. |
| Other features | a large amount of bean sprouts and cabbage back fat seasoned with soy sauce thick and large slices of Chashu called “buta” a lot of minced garlic |
Let’s prepare the ingredients refering to the above table.
Base Soup
Jiro style Ramen’s base soup is Tonkotsu broth, and it contains plenty of essence of pork. This is because they boil pork for “buta” Chashu when they make soup in their shops. They make soup and “buta” Chashu at the same time.
Although the basic Tonkotsu base soup which I intorduced in my blog already contains essence of pork, I’ll add pork later to make the soup stronger and more suitable for Jiro style Ramen.
Ingredients(2 portions)
・basic Tonkotsu base soup 800cc
・pork belly 300g ※Pork picnic shoulder is better!
・garlic 1 head ※It’s not 1clove.
Steps
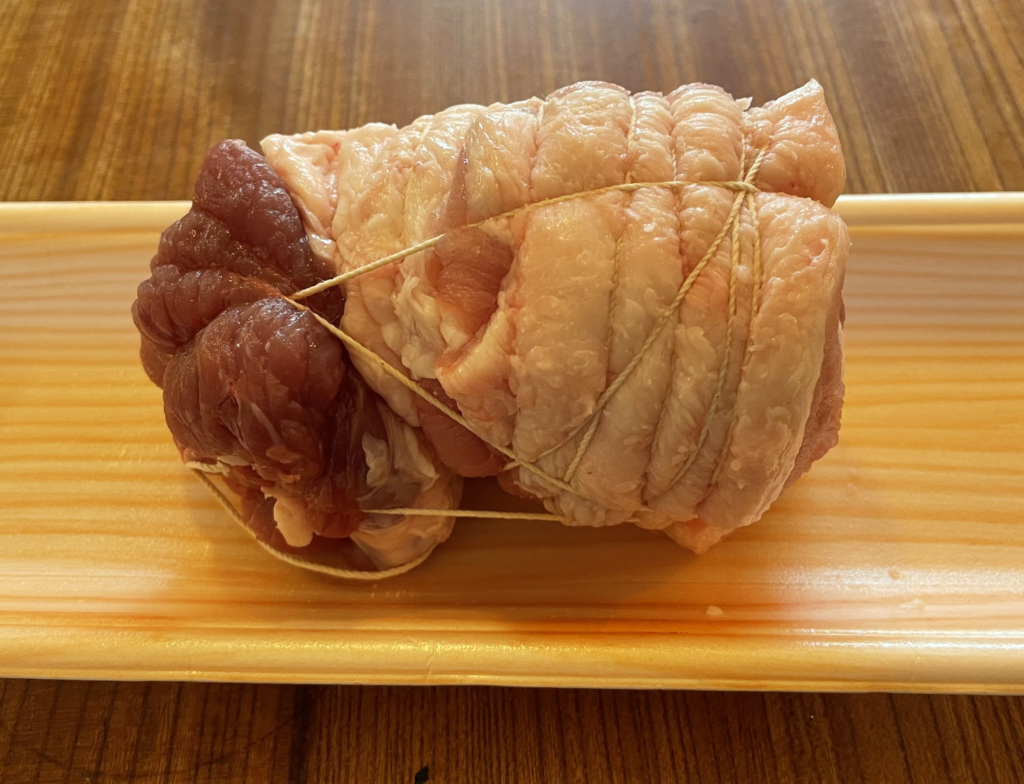
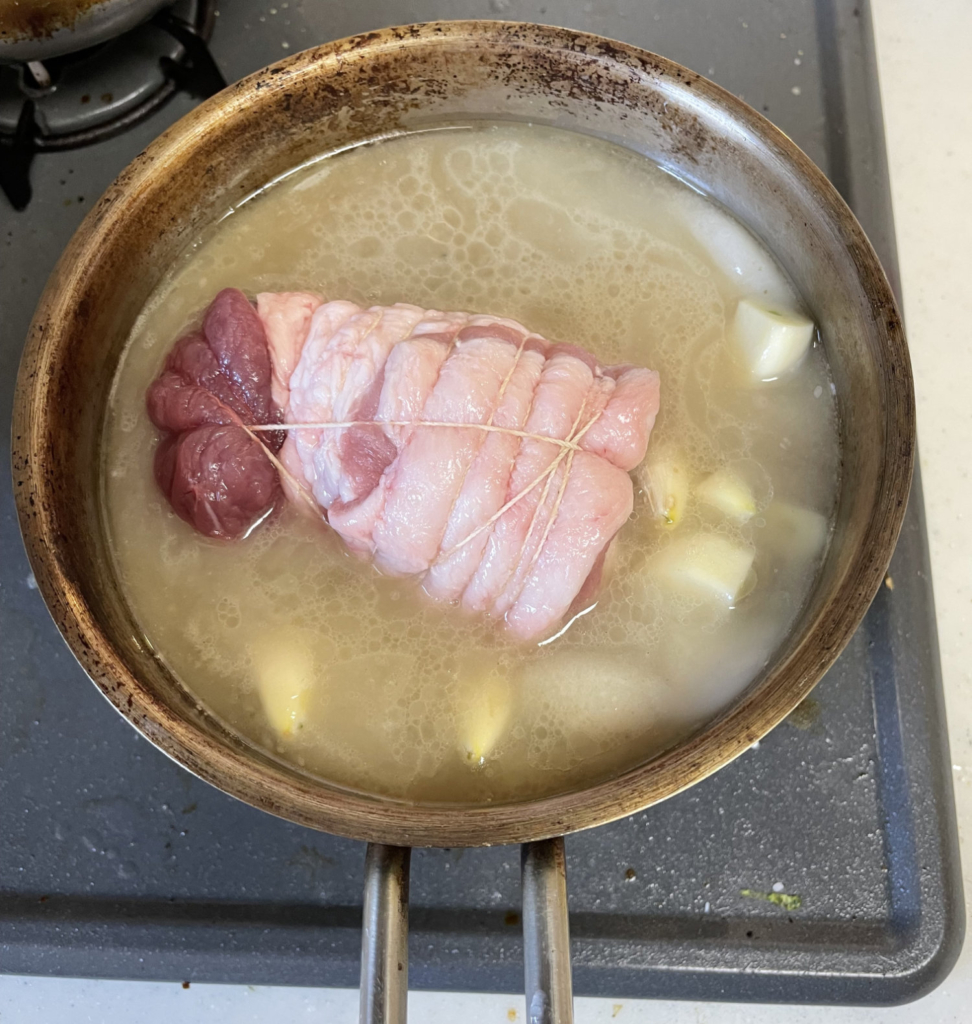
1. Tie Pork Belly with String to Help it Stay in Shape
Tie the pork belly with string as shown in the following picture.
2. Put Pork Belly and Garlic into Soup
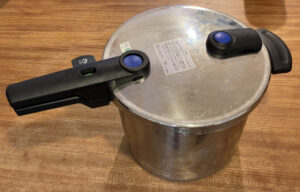
Put the pork belly and 1 head of peeled garlic into the basic Tonkotsu soup, and boil them.
Lard and garlic flavor are melting into the soup while “buta”Chashu is being boiled.
3. Boil them over Low Heat for 120 Minutes
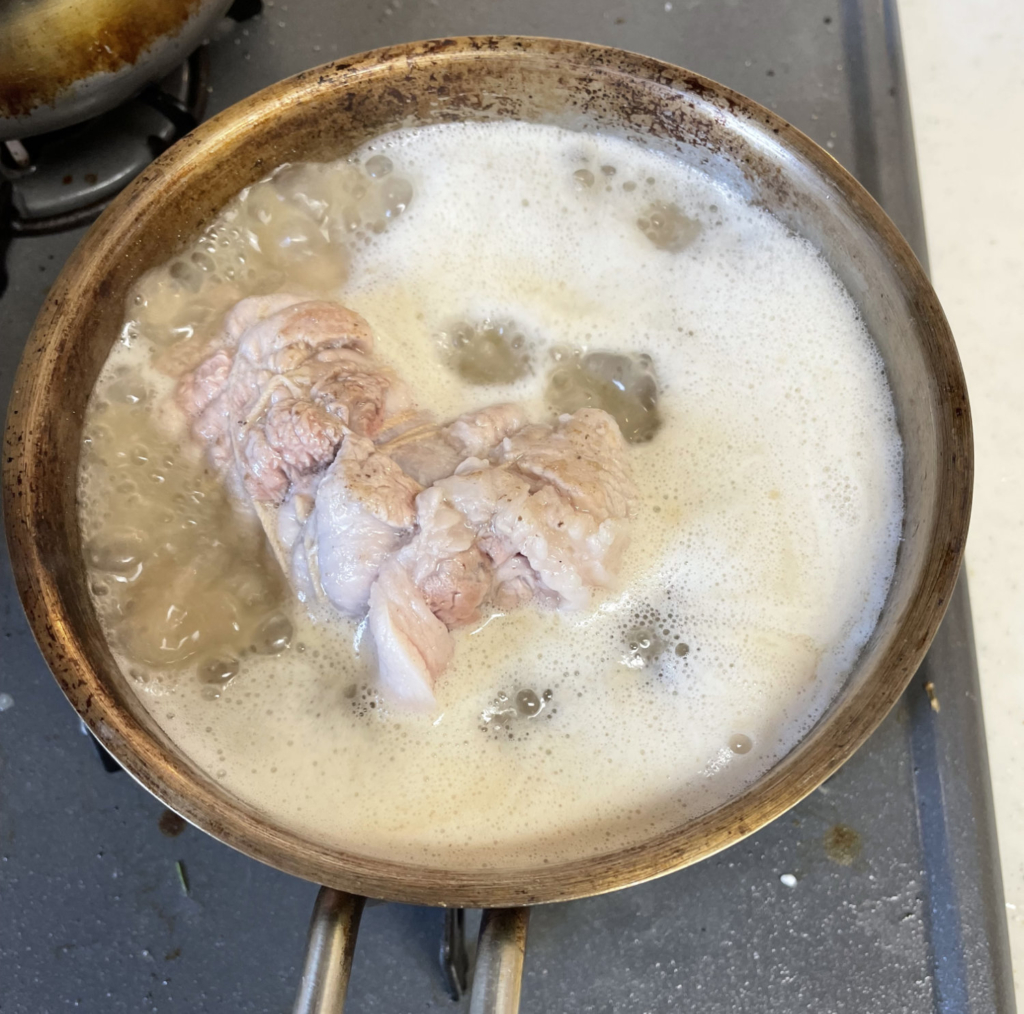
The quantity of the soup is not enough to cover the pork, so turn over the pork some times.
Please add water when the soup evaporates visibly.
4. Boiling is Completed
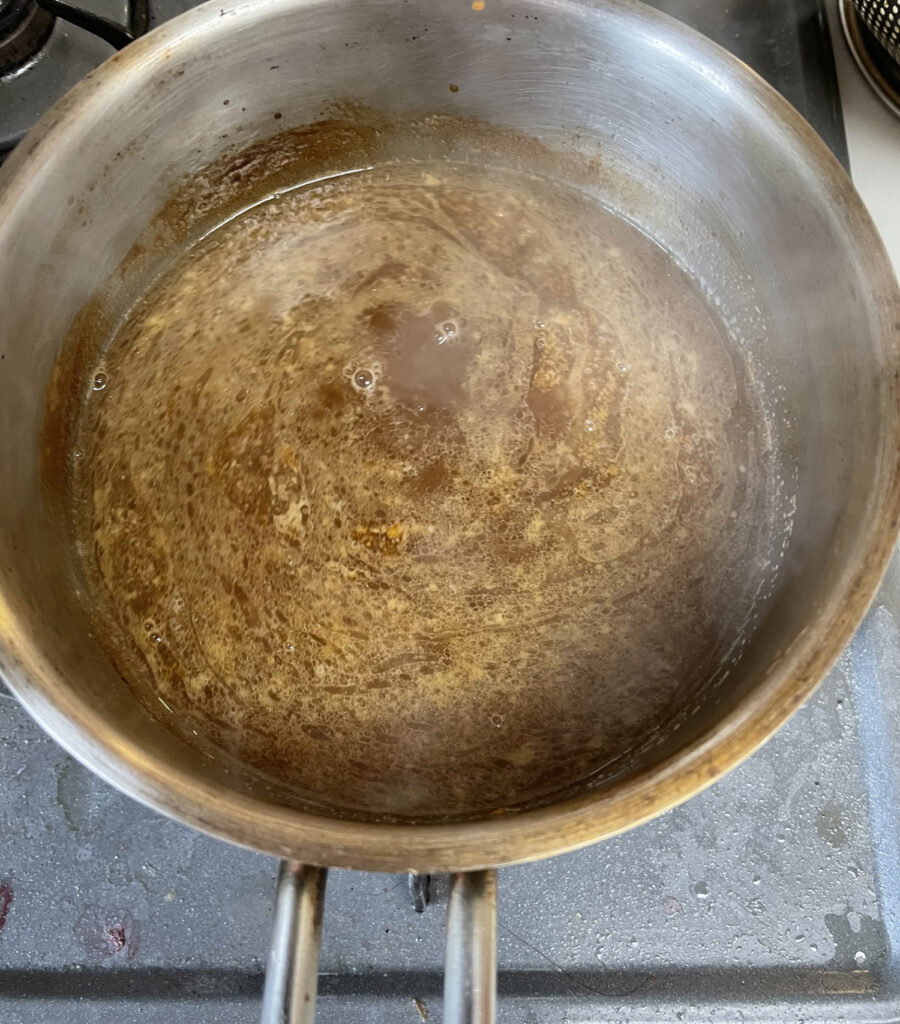
Take out the pork belly and garlic from the soup. Then the soup is completed! You can see oil slicks on top of the soup, which is from the pork belly lard.
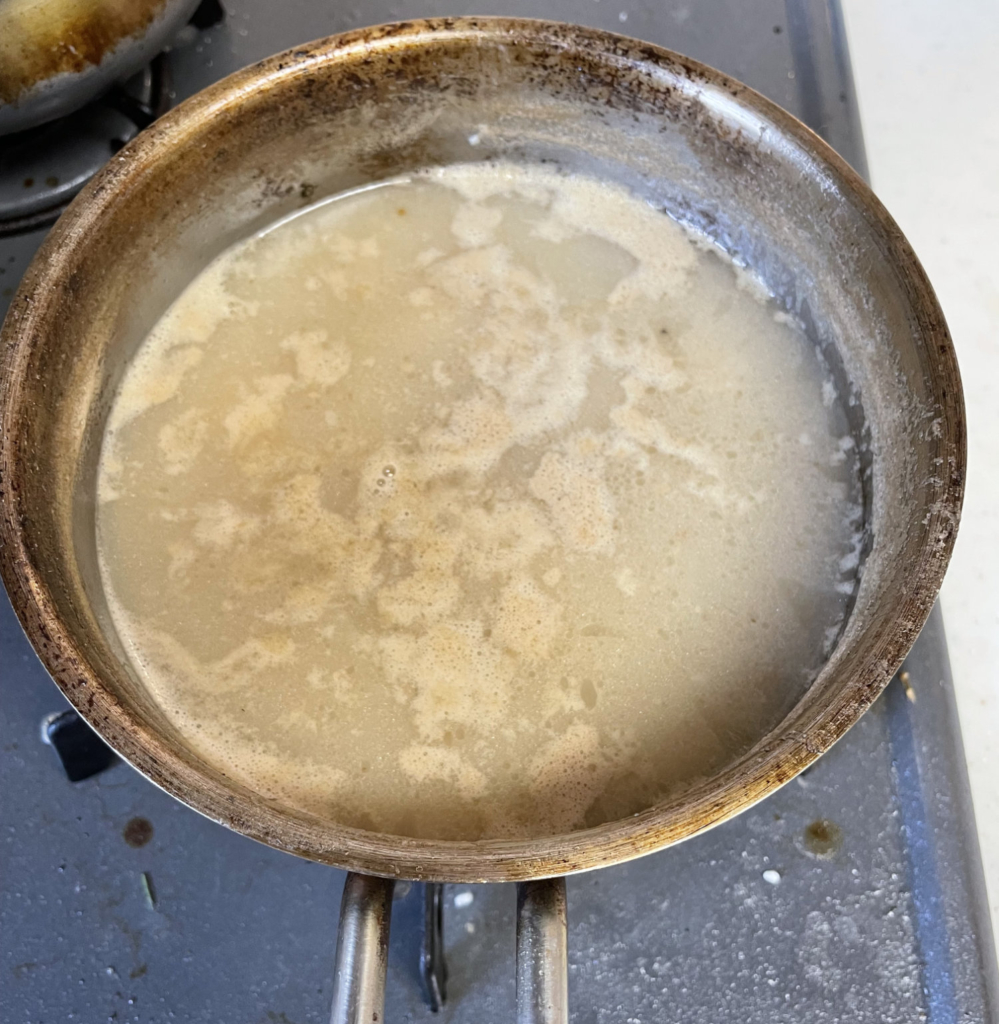
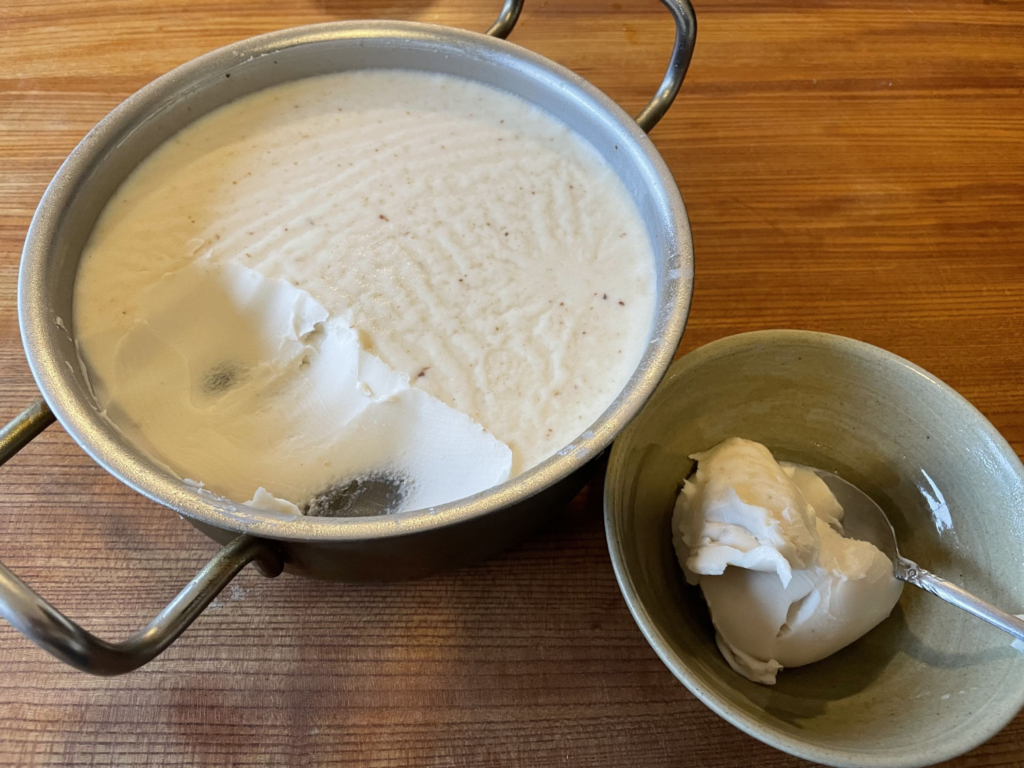
5. Eliminate Lard
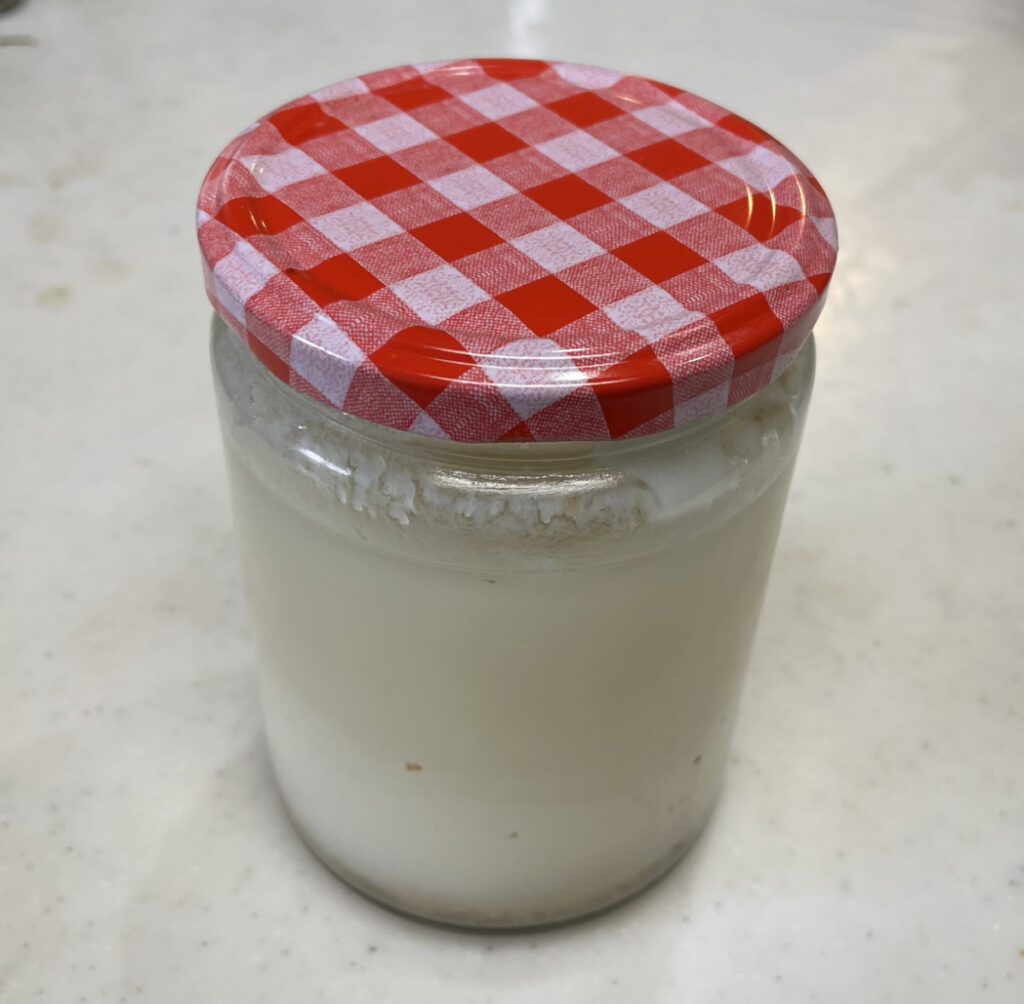
As the soup cools, it is getting easier to take out lard on top of the soup. Skim clear liquid (or lard) from the surface using a ladle. Lard becomes white semi-solid when it cools. Please keep lard because it can be used when you make Ramen.
【Note】
Securing and keeping enough lard when you make basic Tonkotsu base soup is so important because you might not be able to get much lard from the soup here.
6. Add Water to Make Soup 600cc after Skimming off Lard
300cc base soup is necessary for a bowl of Ramen, and we’ll make 2 bowls of Ramen this time. It means that we need 600cc base soup in total. Please measure the amount of the soup after skimming off lard, and add water if needed.
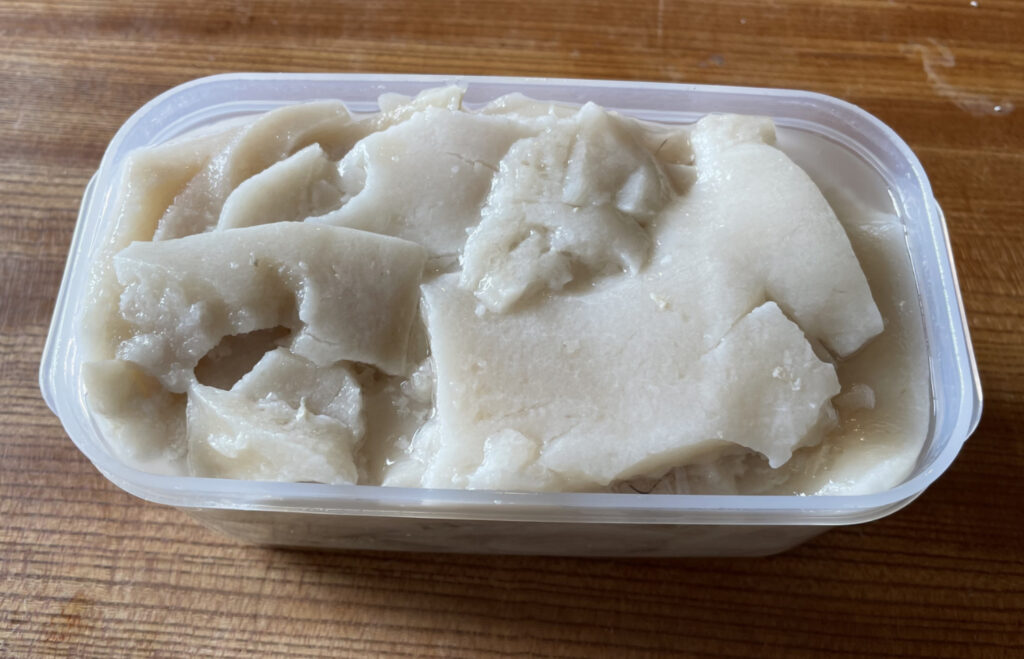
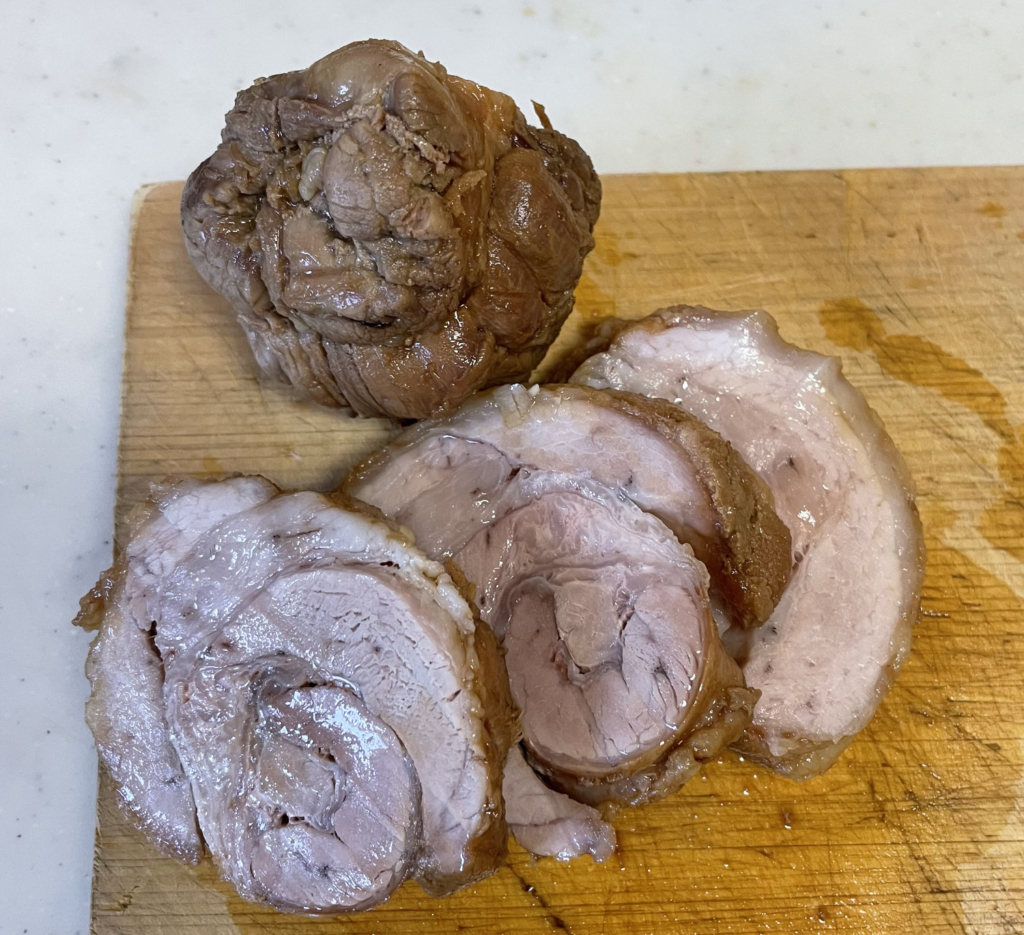
”Buta” Chashu
Jiro style Ramen is famous for its huge “buta” Chashu fillets. Pickle the pork belly which was taken out from the soup in soy-based sauce.
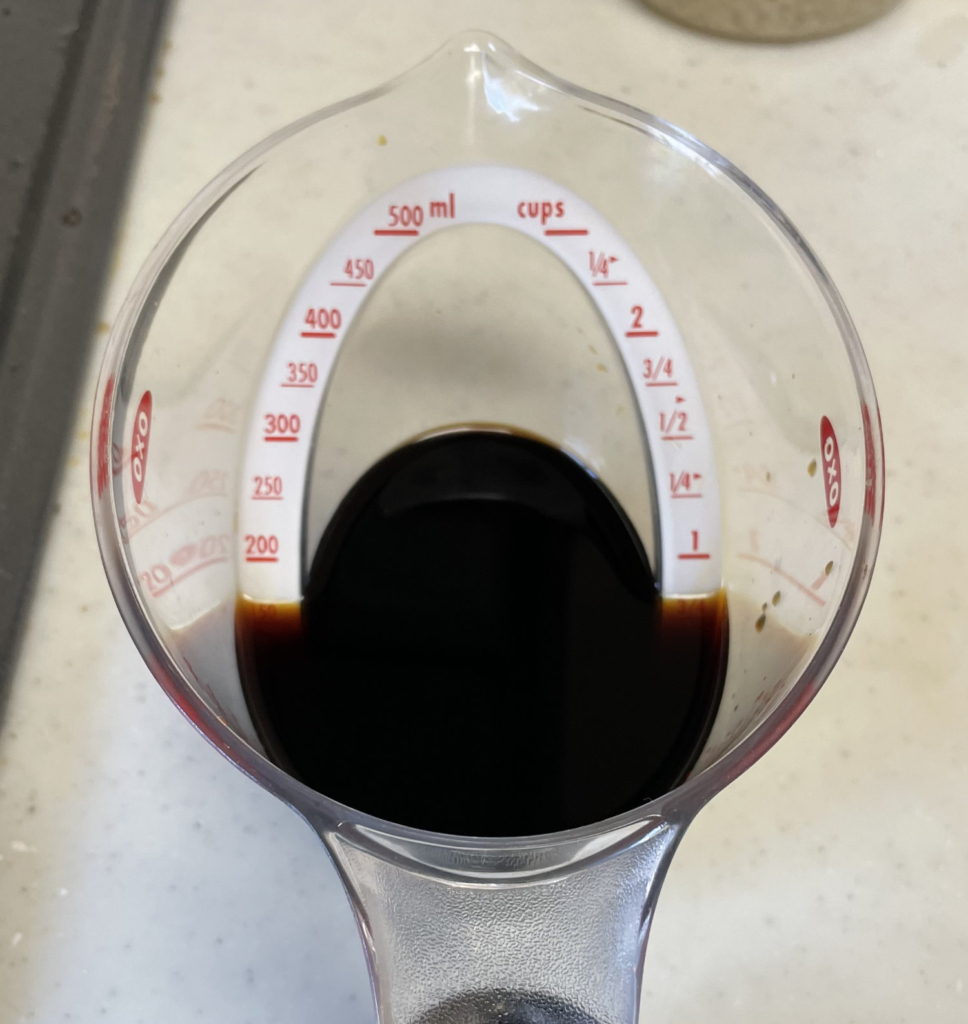
Ingredients of Soy-based Sauce(for 300g pork belly)
・dark soy sauce 60cc
・Mirin 20cc
Mix the above ingredients. That’s all!
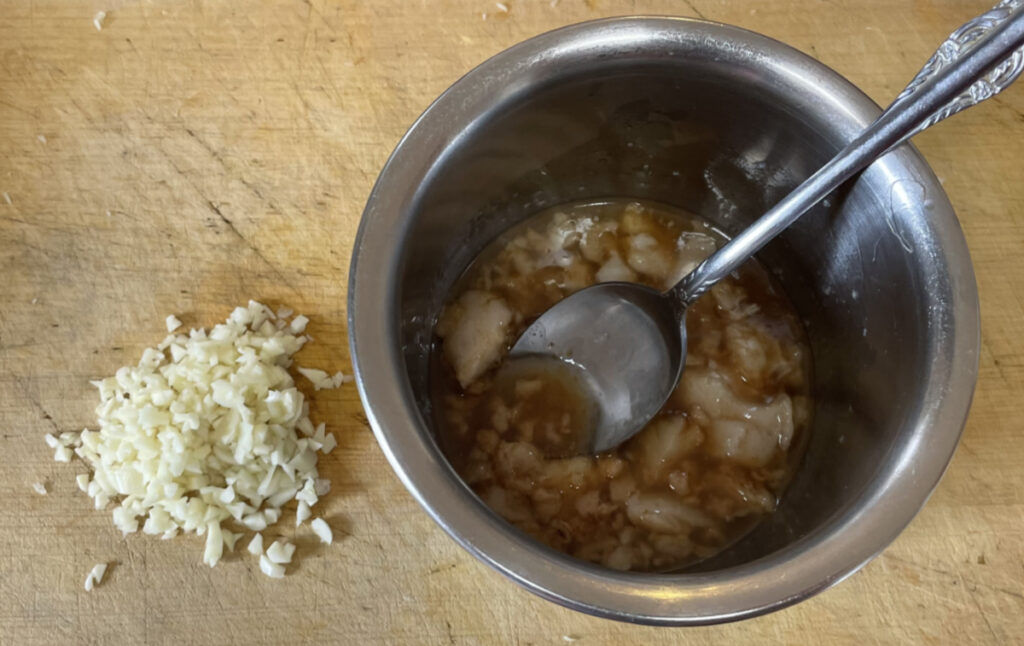
Pickle Pork in Seasoning Sauce
Put both of the pork and the seasoning sauce into a re-sealable zipper bag, and evacuate it as much as possible while soaking it in water. Water helps evacuation, and it also cools the pork down. Make it vacuum as much as possible and seal it, so that a relatively small quantity of seasoning sauce is enough to pickle the pork. Put it in the refrigerator to cool it further for about 2 hours and take it out from the bag. Be careful not to picke the pork over 2 hours, otherwise it will become too salty in the sauce.

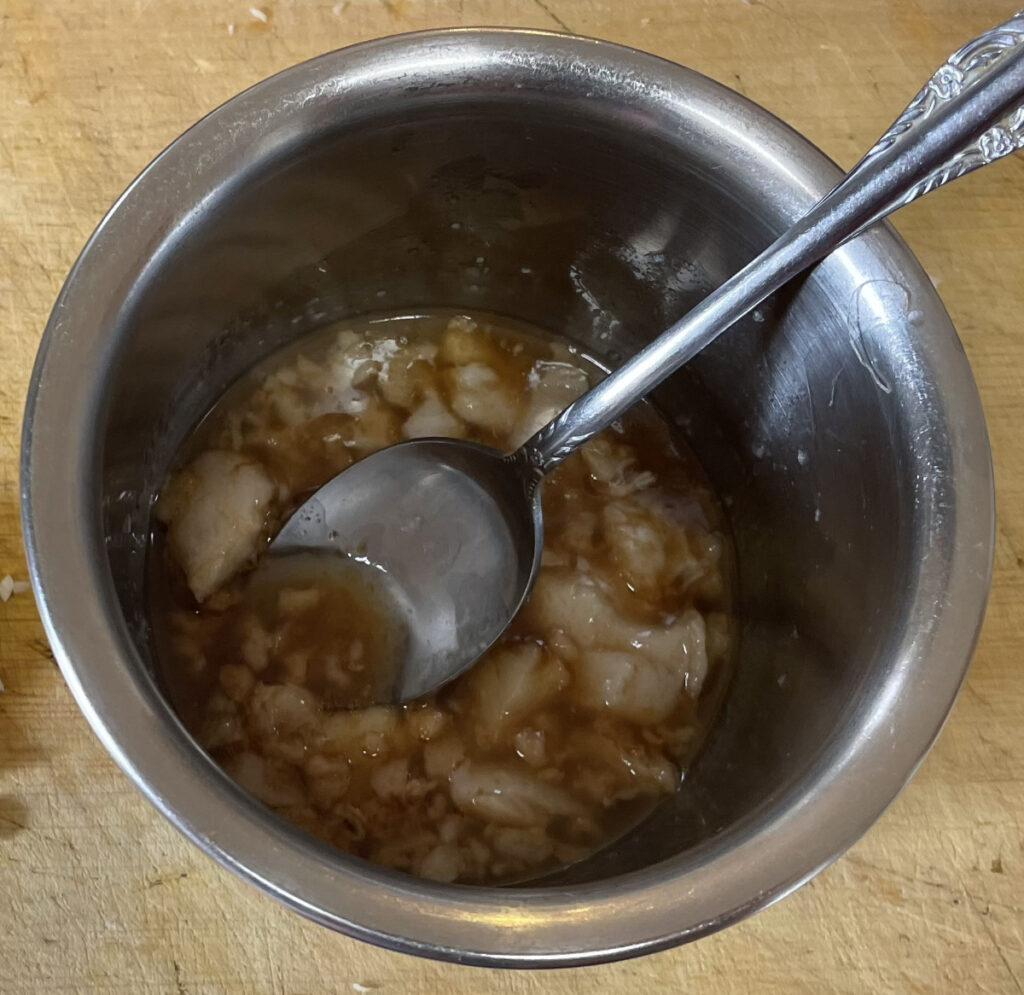
Seasoned Backfat
When it comes to Jiro style Ramen, we think of backfat with soy sauce flavoring. First of all, please prepare backfat wich is suitable for your preference.
Season the backfat. I use 15cc (1 tablespoon) soy-based sauce (which I use to pickle the pork) for 60cc backfat. You can adjust it as you like. Mix the backfat and the sauce together.
Noodles
Another Jiro style Ramen’s feature is 100% “Ocean” flour low hydration rate extra thick noodles. I highly recommend homemade noodles because they are so good. Please try it if you are interested in such Jiro style homemade noodles.
This time I made noodles of the following specification: hydration rate=32%, salt=1%, Kansui=1%, “Ocean” flour=100%, cutter=3.5mm, thickness=number “5”. Make the dough on the previous day, and cut it just before you make Ramen.
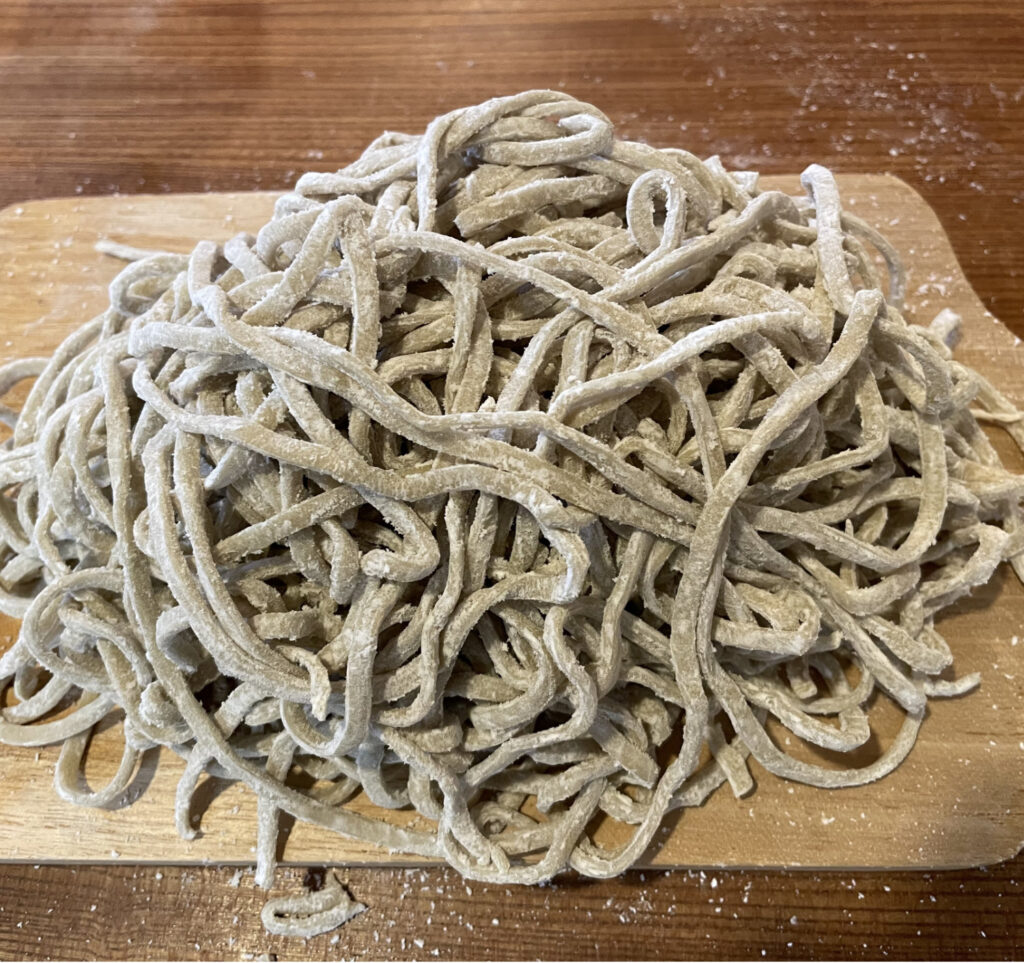
Those who do not have time to make homemade noodles can buy noodles on the market.
Final Preparation (1 portion)
I prepare 200g noodles for 1 portion, which is nearly equivalent to small size or half size in Ramen Jiro shop.
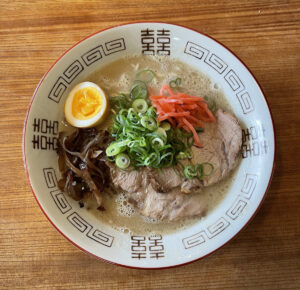
My ramen will be served with garlic, a lot of vegetables and backfat!
・homemade noodles 200g
・base soup 300cc
【Seasoning】
・lard 50cc ※ which is taken out from the base soup
・dark soy sauce 30cc(2 tablespoons )
・light soy sauce 15cc(1 tablespoon)
・Mirin 15cc(1 tablespoon)
・grated garlic 2 cloves
・Ajinomoto (MSG) 1 teaspoon
【Topping】※This is just an example. You can arrange it as you like.
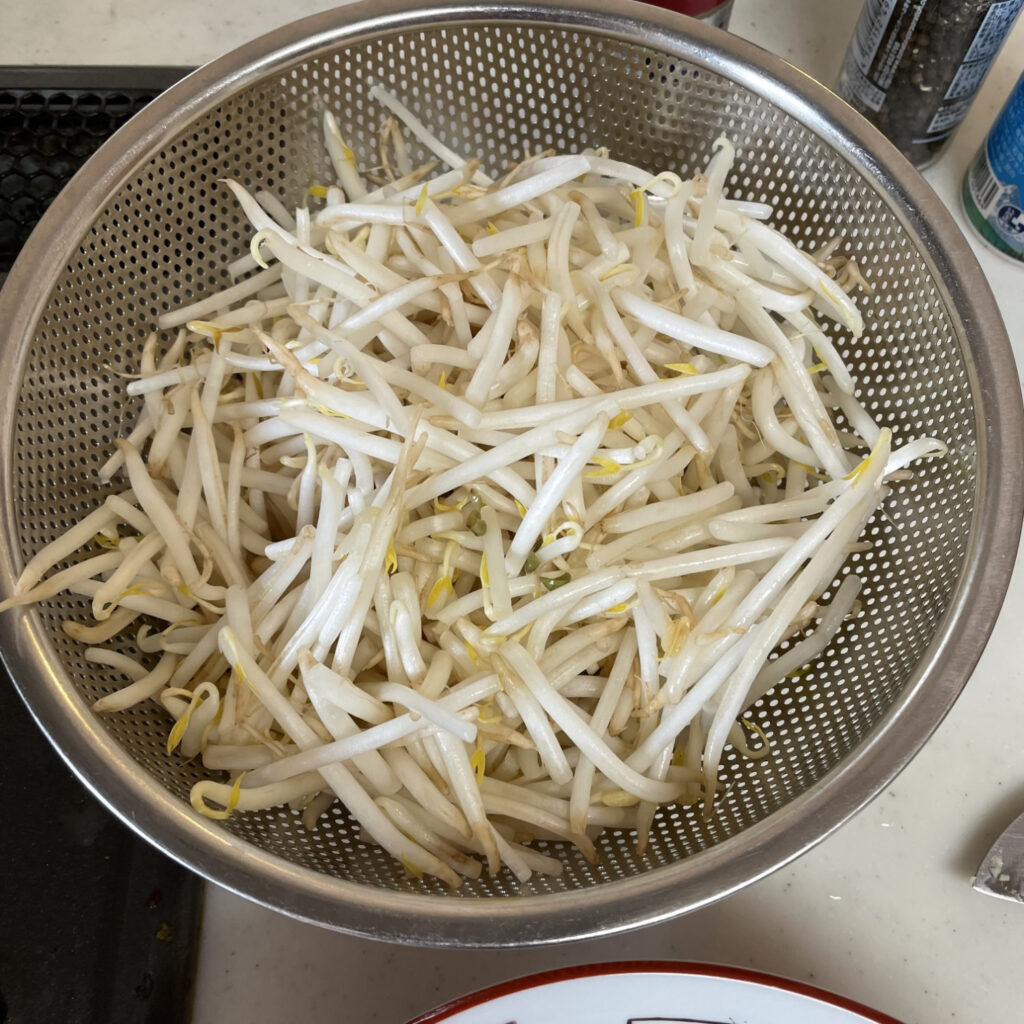
・bean sprouts 2 bags
・minced garlic 2~3 cloves
・seasoned backfat 45cc (3 tablespoons)
・”buta” Chashu 3 slices
Finish up
Mince garlic and heat up seasoned backfat a little.
Slice “buta” Chashu thick.
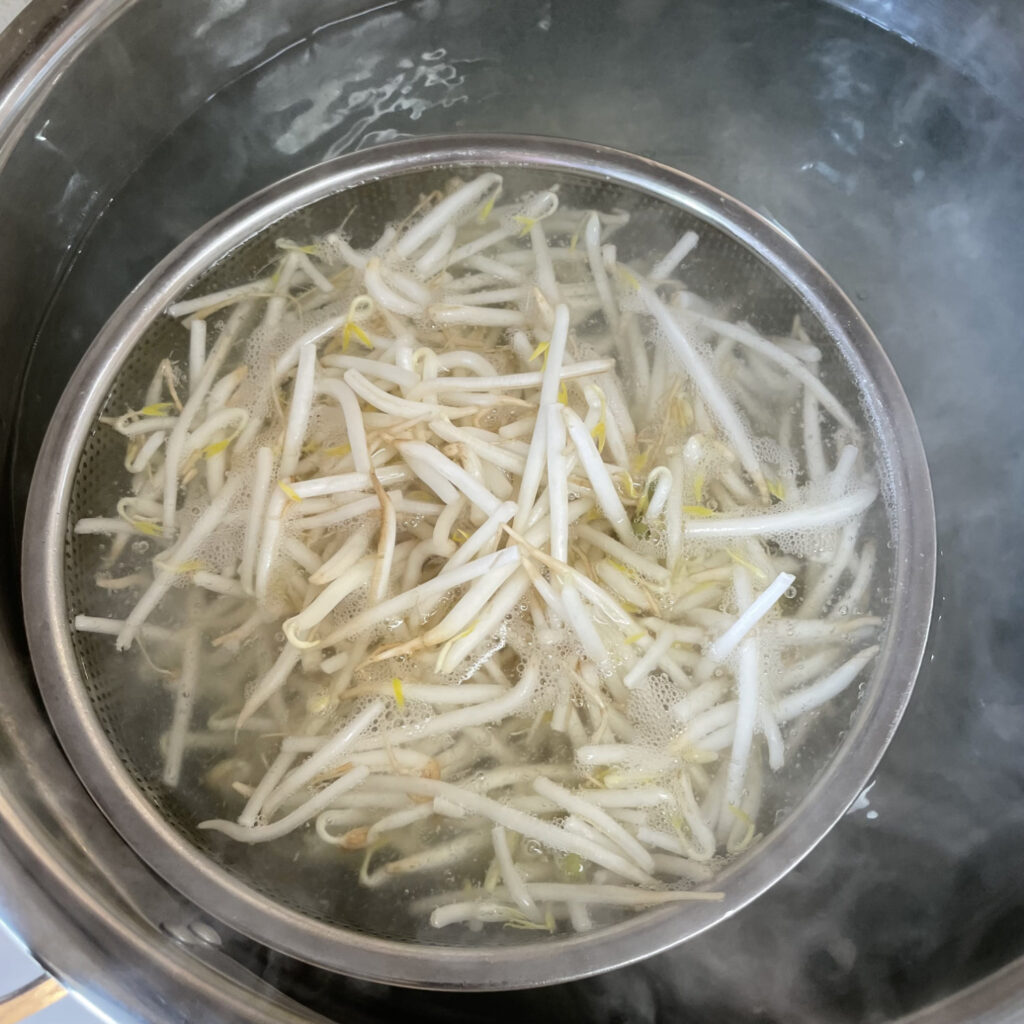
Prepare bean sprouts in a seive.
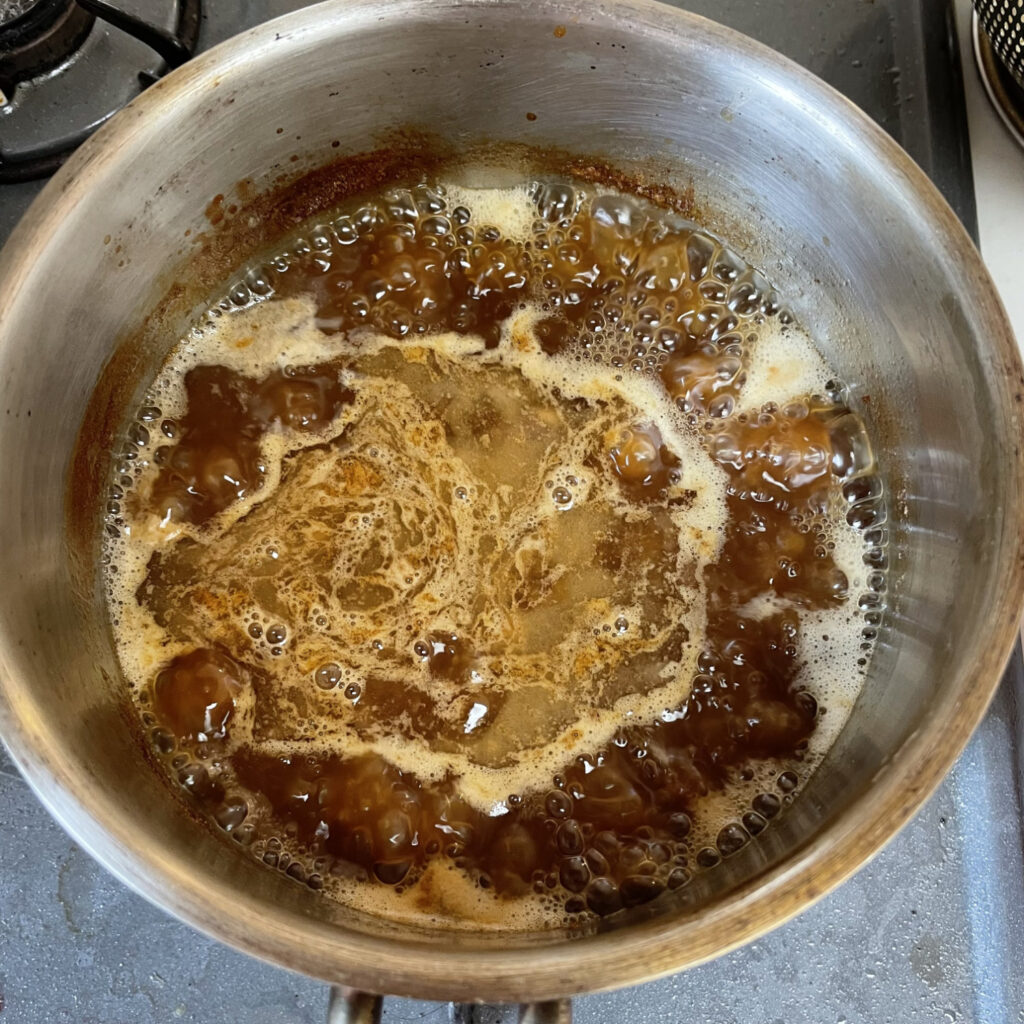
Put the soup and all “seasoning” ingredients such as soy sauce and lard etc. into a skillet and heat it. Jiro syle Ramen includes more oil and seasonings than other kinds of Ramen, so it can keep its hotness due to the oil slick.
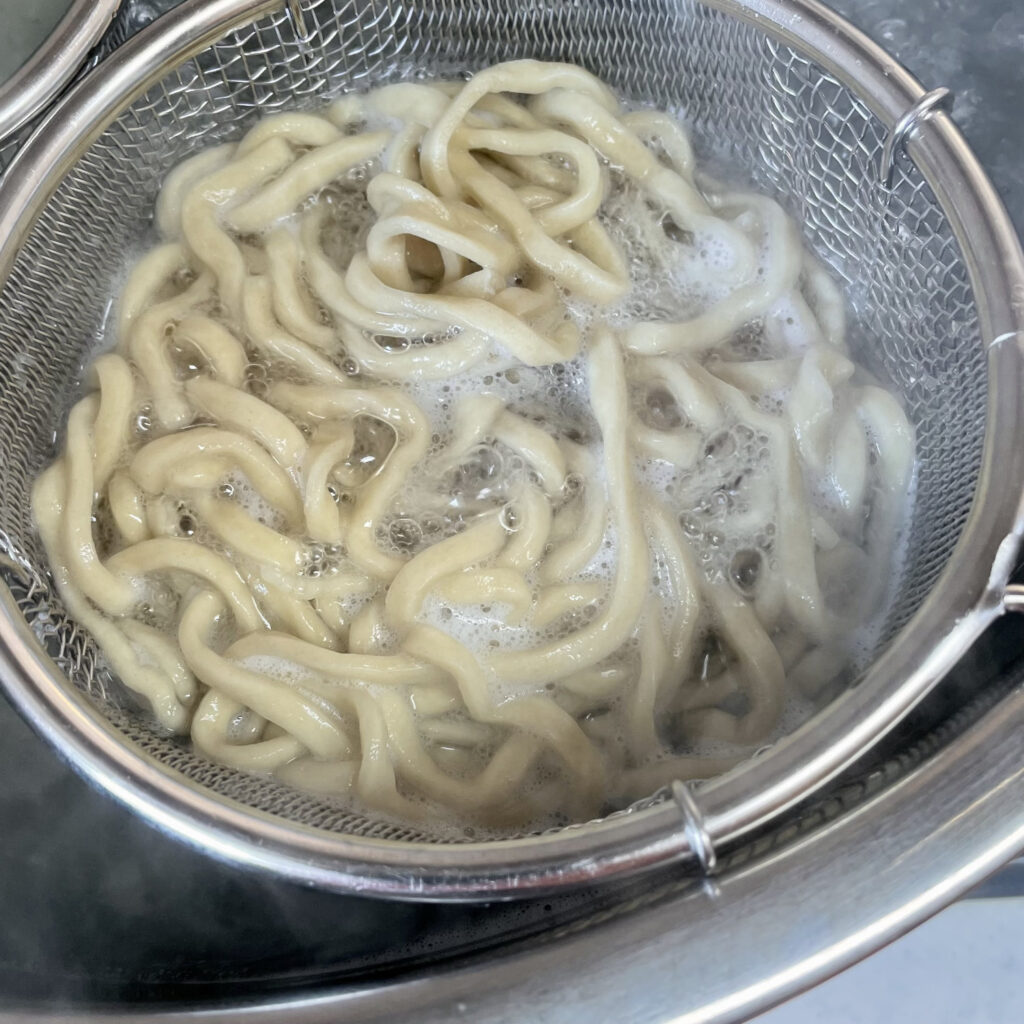
Boil the noodles at the same time. Please prepare plenty of boiling water. Boiling time differs from noodles to noodles. I’ll boil my homemade noodles for about 6~7 minutes. It’s important to check the hardness of the noodles while boiling, so that you can boil them as you like.
Bring the soup to the boil about 2 minutes before noodles get boiled.
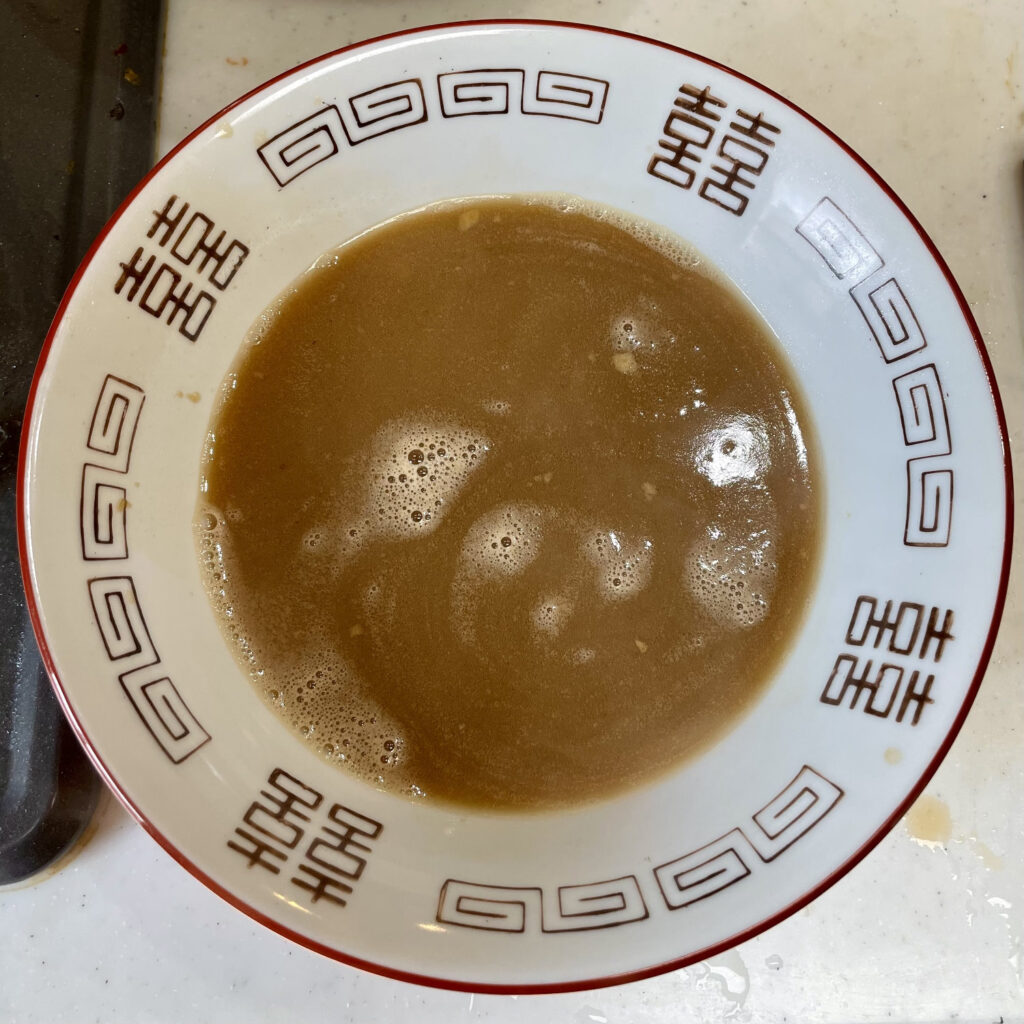
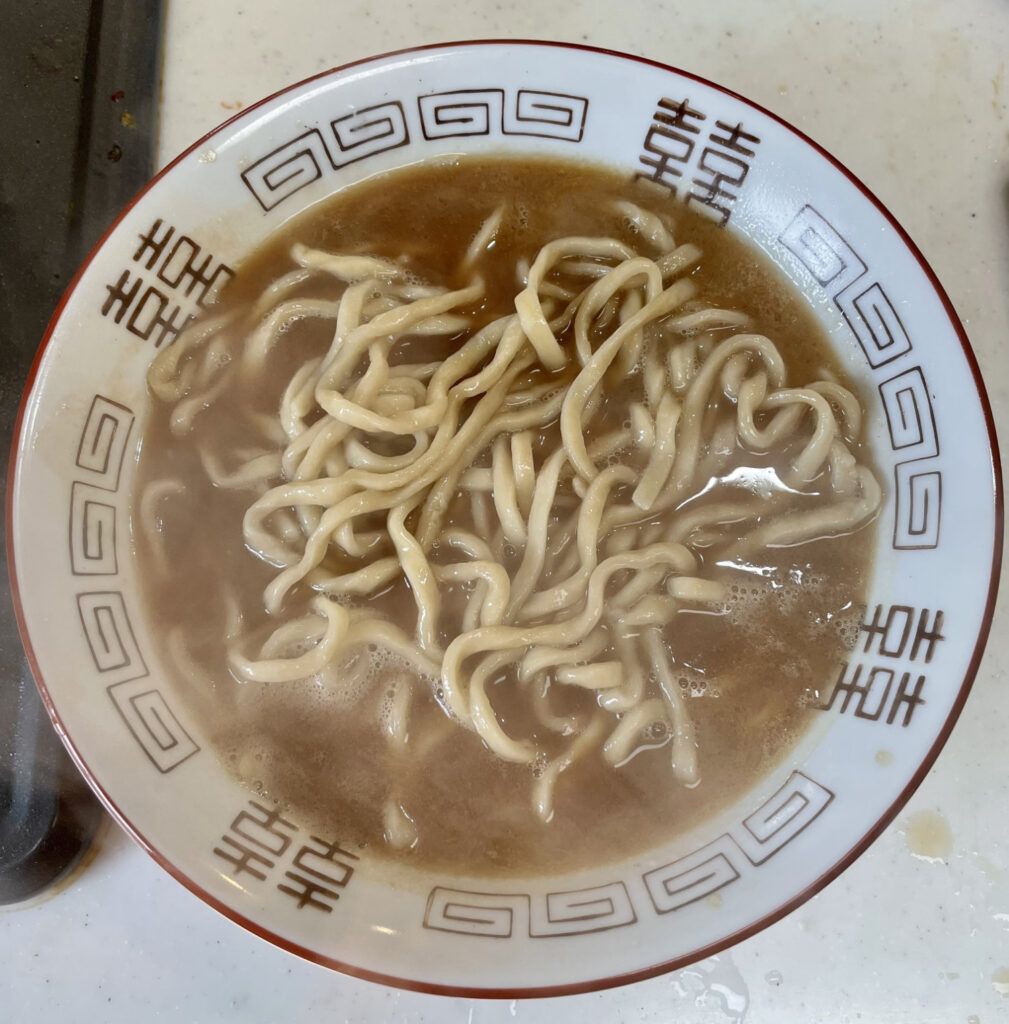
Pour the soup into a bowl. I also warm up the bowl with hot water in advance!
Put the boiled noodles into the bowl!
Put the bean sprouts being kept in a sieve into a boiling water (which was used for noodles). Boil them for about 20 seconds.
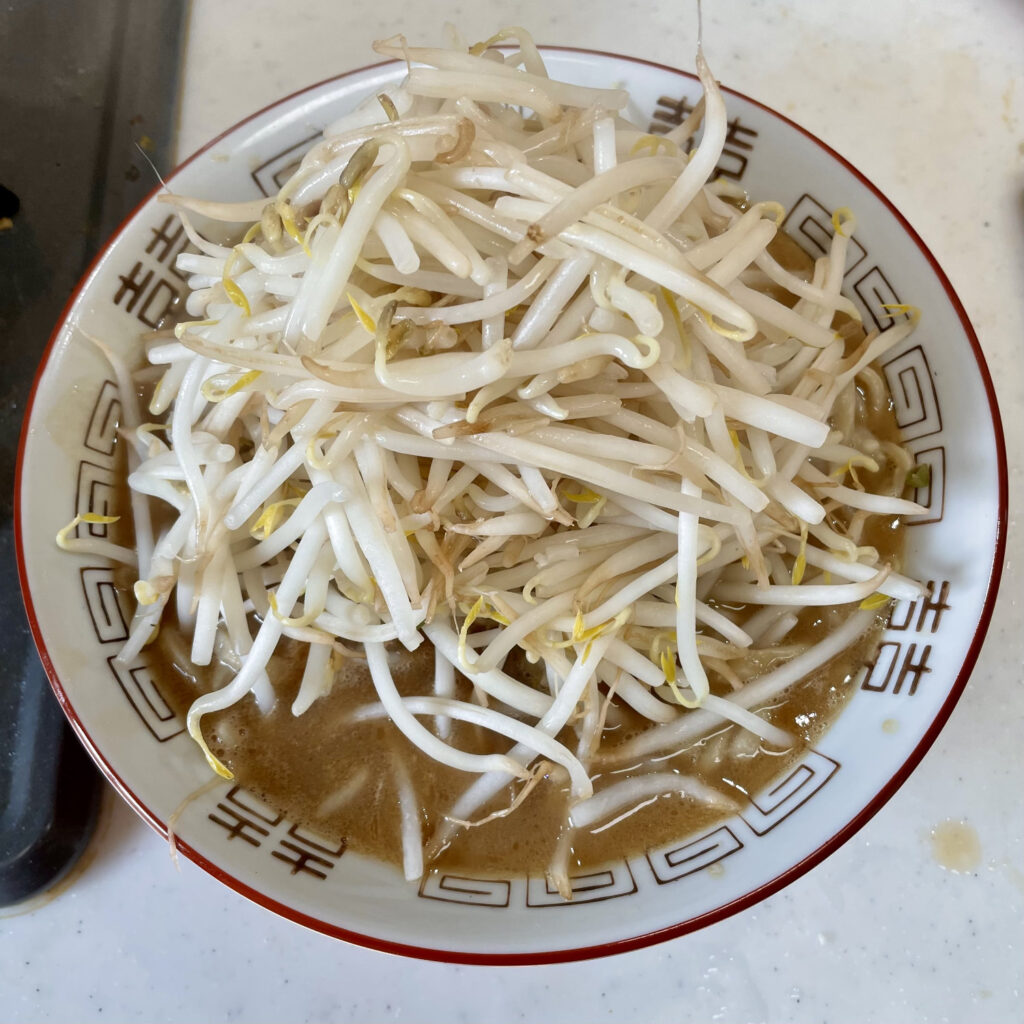
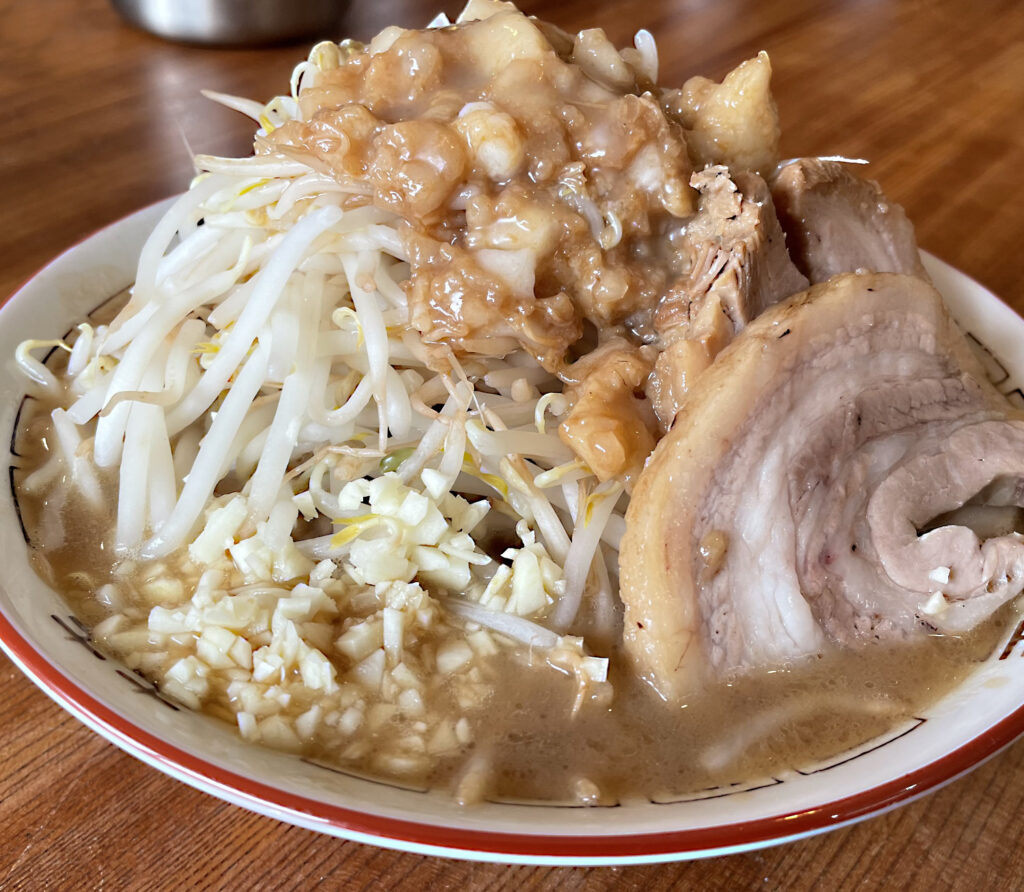
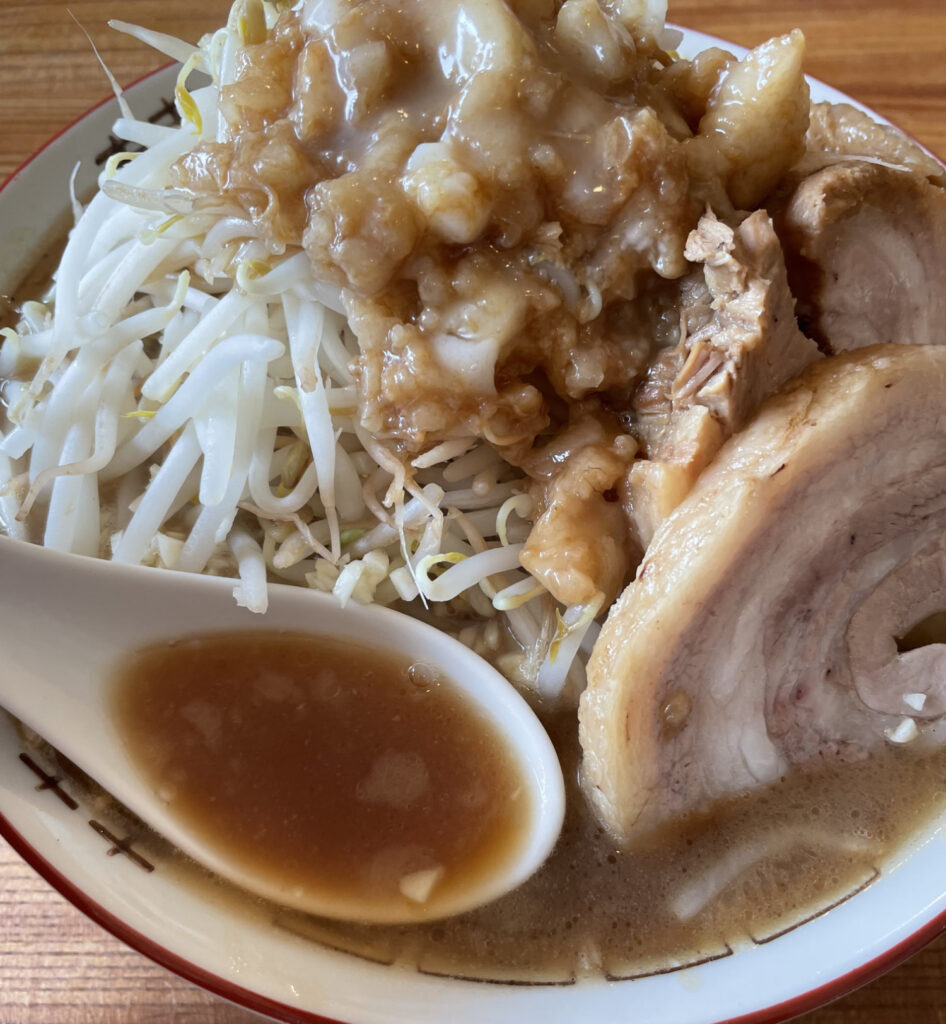
Put the bean sprouts on top of the Ramen. You see plenty of vegetable!
Put the slices of “buta” Chashu, minced garlic and seasoned backfat as well.
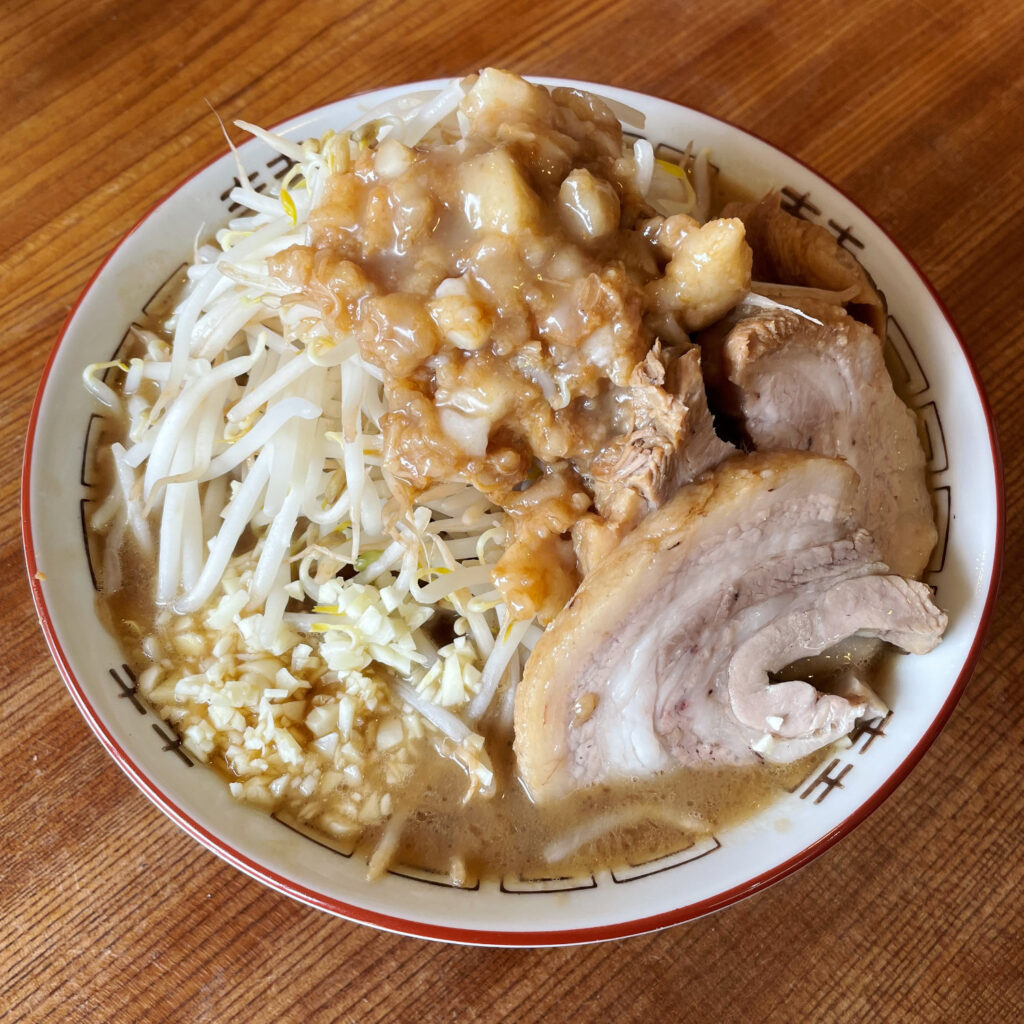
You made it! It’s completed.
Tasting
Let’s eat Komugi’s homemede Jiro style Ramen!
Let me try soup first.
I love garlic and backfat flavor. I clearly feel taste of pork form the soup. I think most people would be satisfied with this Ramen. It’s less salty compared to Ramen Jiro shop’s. I ate all the soup.

And noodles are fantastic! Lift the noodles from the bottom of the bowl. They are “washi washi” noodles!
They look good, and taste perfect! I love chewy homemade noodles! I can’t stop eating them.
They are really great. I mean it!
I believe that homemade Jiro style Ramen is healthier because you can adjust the quantity of MSG or lard according to your preference.

I’ve made this Jiro Style Ramen for many people. And all of them cleared their bowls. They said “it was super!” It takes time to make the Ramen I told you here, but I recommend this recipe with confidence!
That’s all for today. Let’s make Jiro Style Ramen using the basic Tonkotsu base soup!
See you!